I made my first cutting boards in January as gifts for my mom’s and brother’s
birthdays. Cutting boards are a fun project, because their function is
simple—the goal is just to have a flat wooden surface to cut on—but there are
also a lot of opportunities for creativity.
For this project, I decided to make end grain walnut cutting boards. Here’s a
picture of the finished project first:
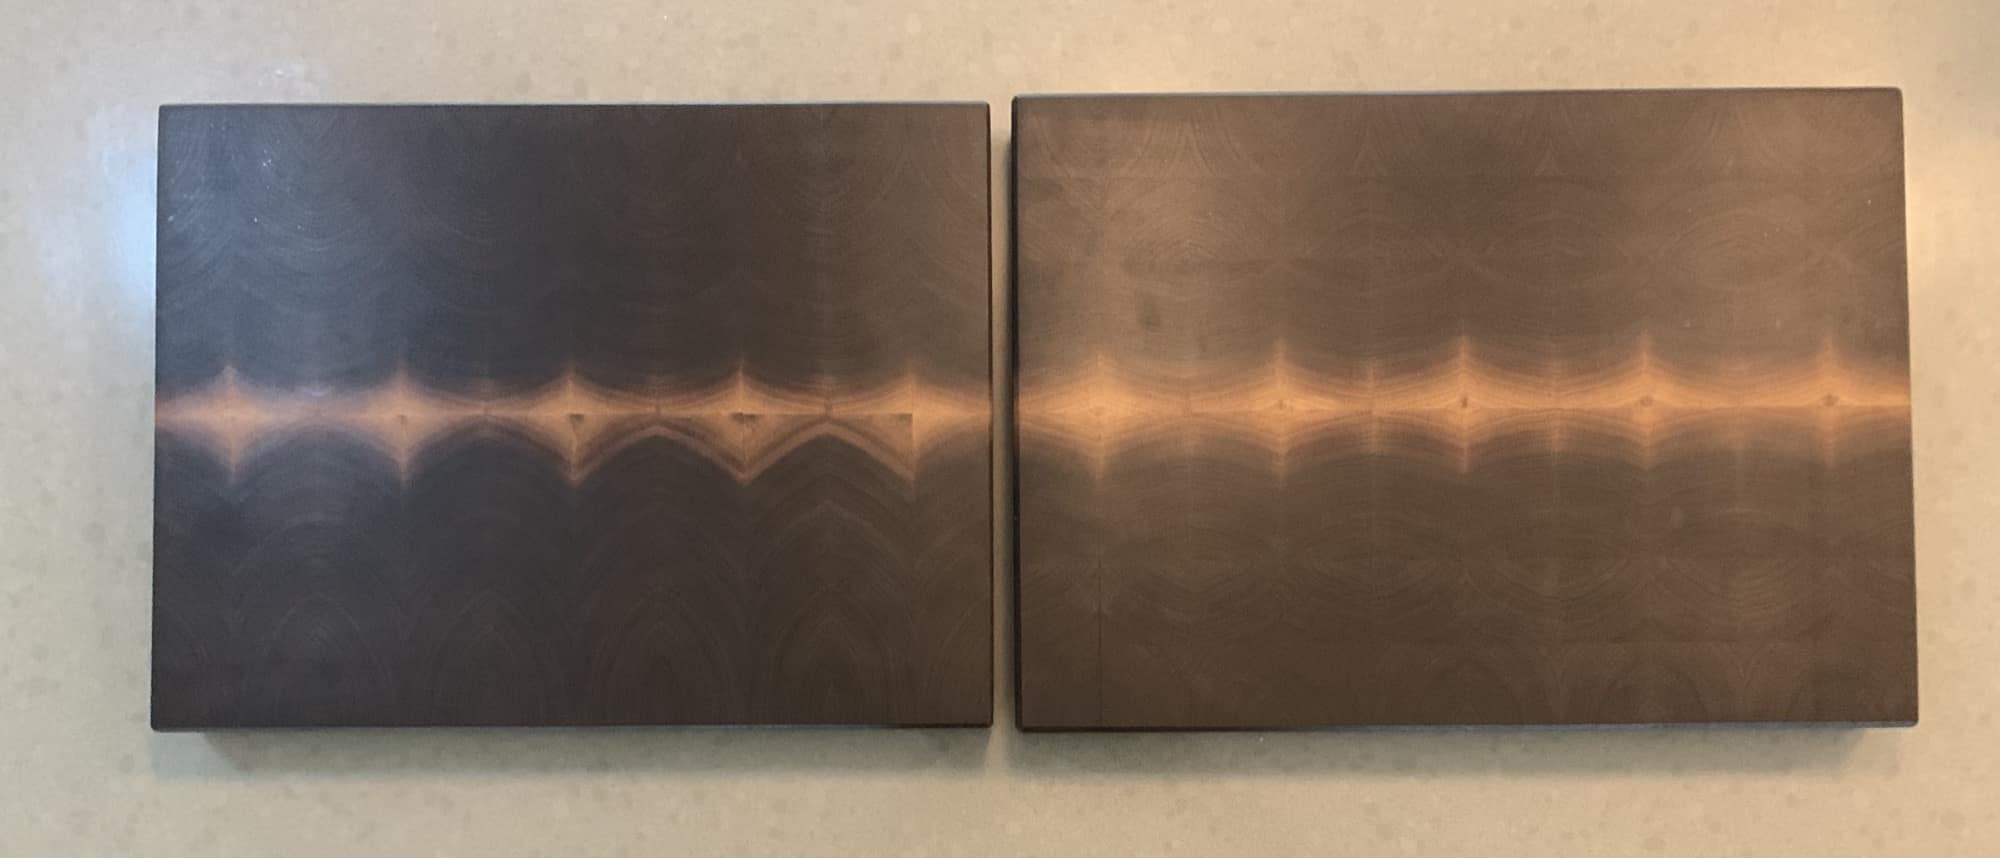
The finished boards!
Now, on to the details!
I went to my local lumber yard, Fine Lumber, and
picked out one piece of 8/4 (i.e. 2” thick) walnut that was about 9’ long by 7”
wide. This cost $140 at about $12 per board foot. My plan was to make three
cutting boards out of this, each about 12” x 18”.
End grain cutting boards are made by cutting the wood into strips and then
gluing the strips back together so that the end grain is facing up. They’re a
little easier on knives and resistant to deep gashes. I also like the way they
look.
Here’s a preview at what my process would be:
I'll first divide the board into three pieces, each about 3' long.
And here’s how we turn one of those three pieces into an end grain cutting board:
Alright, let’s get to the build:
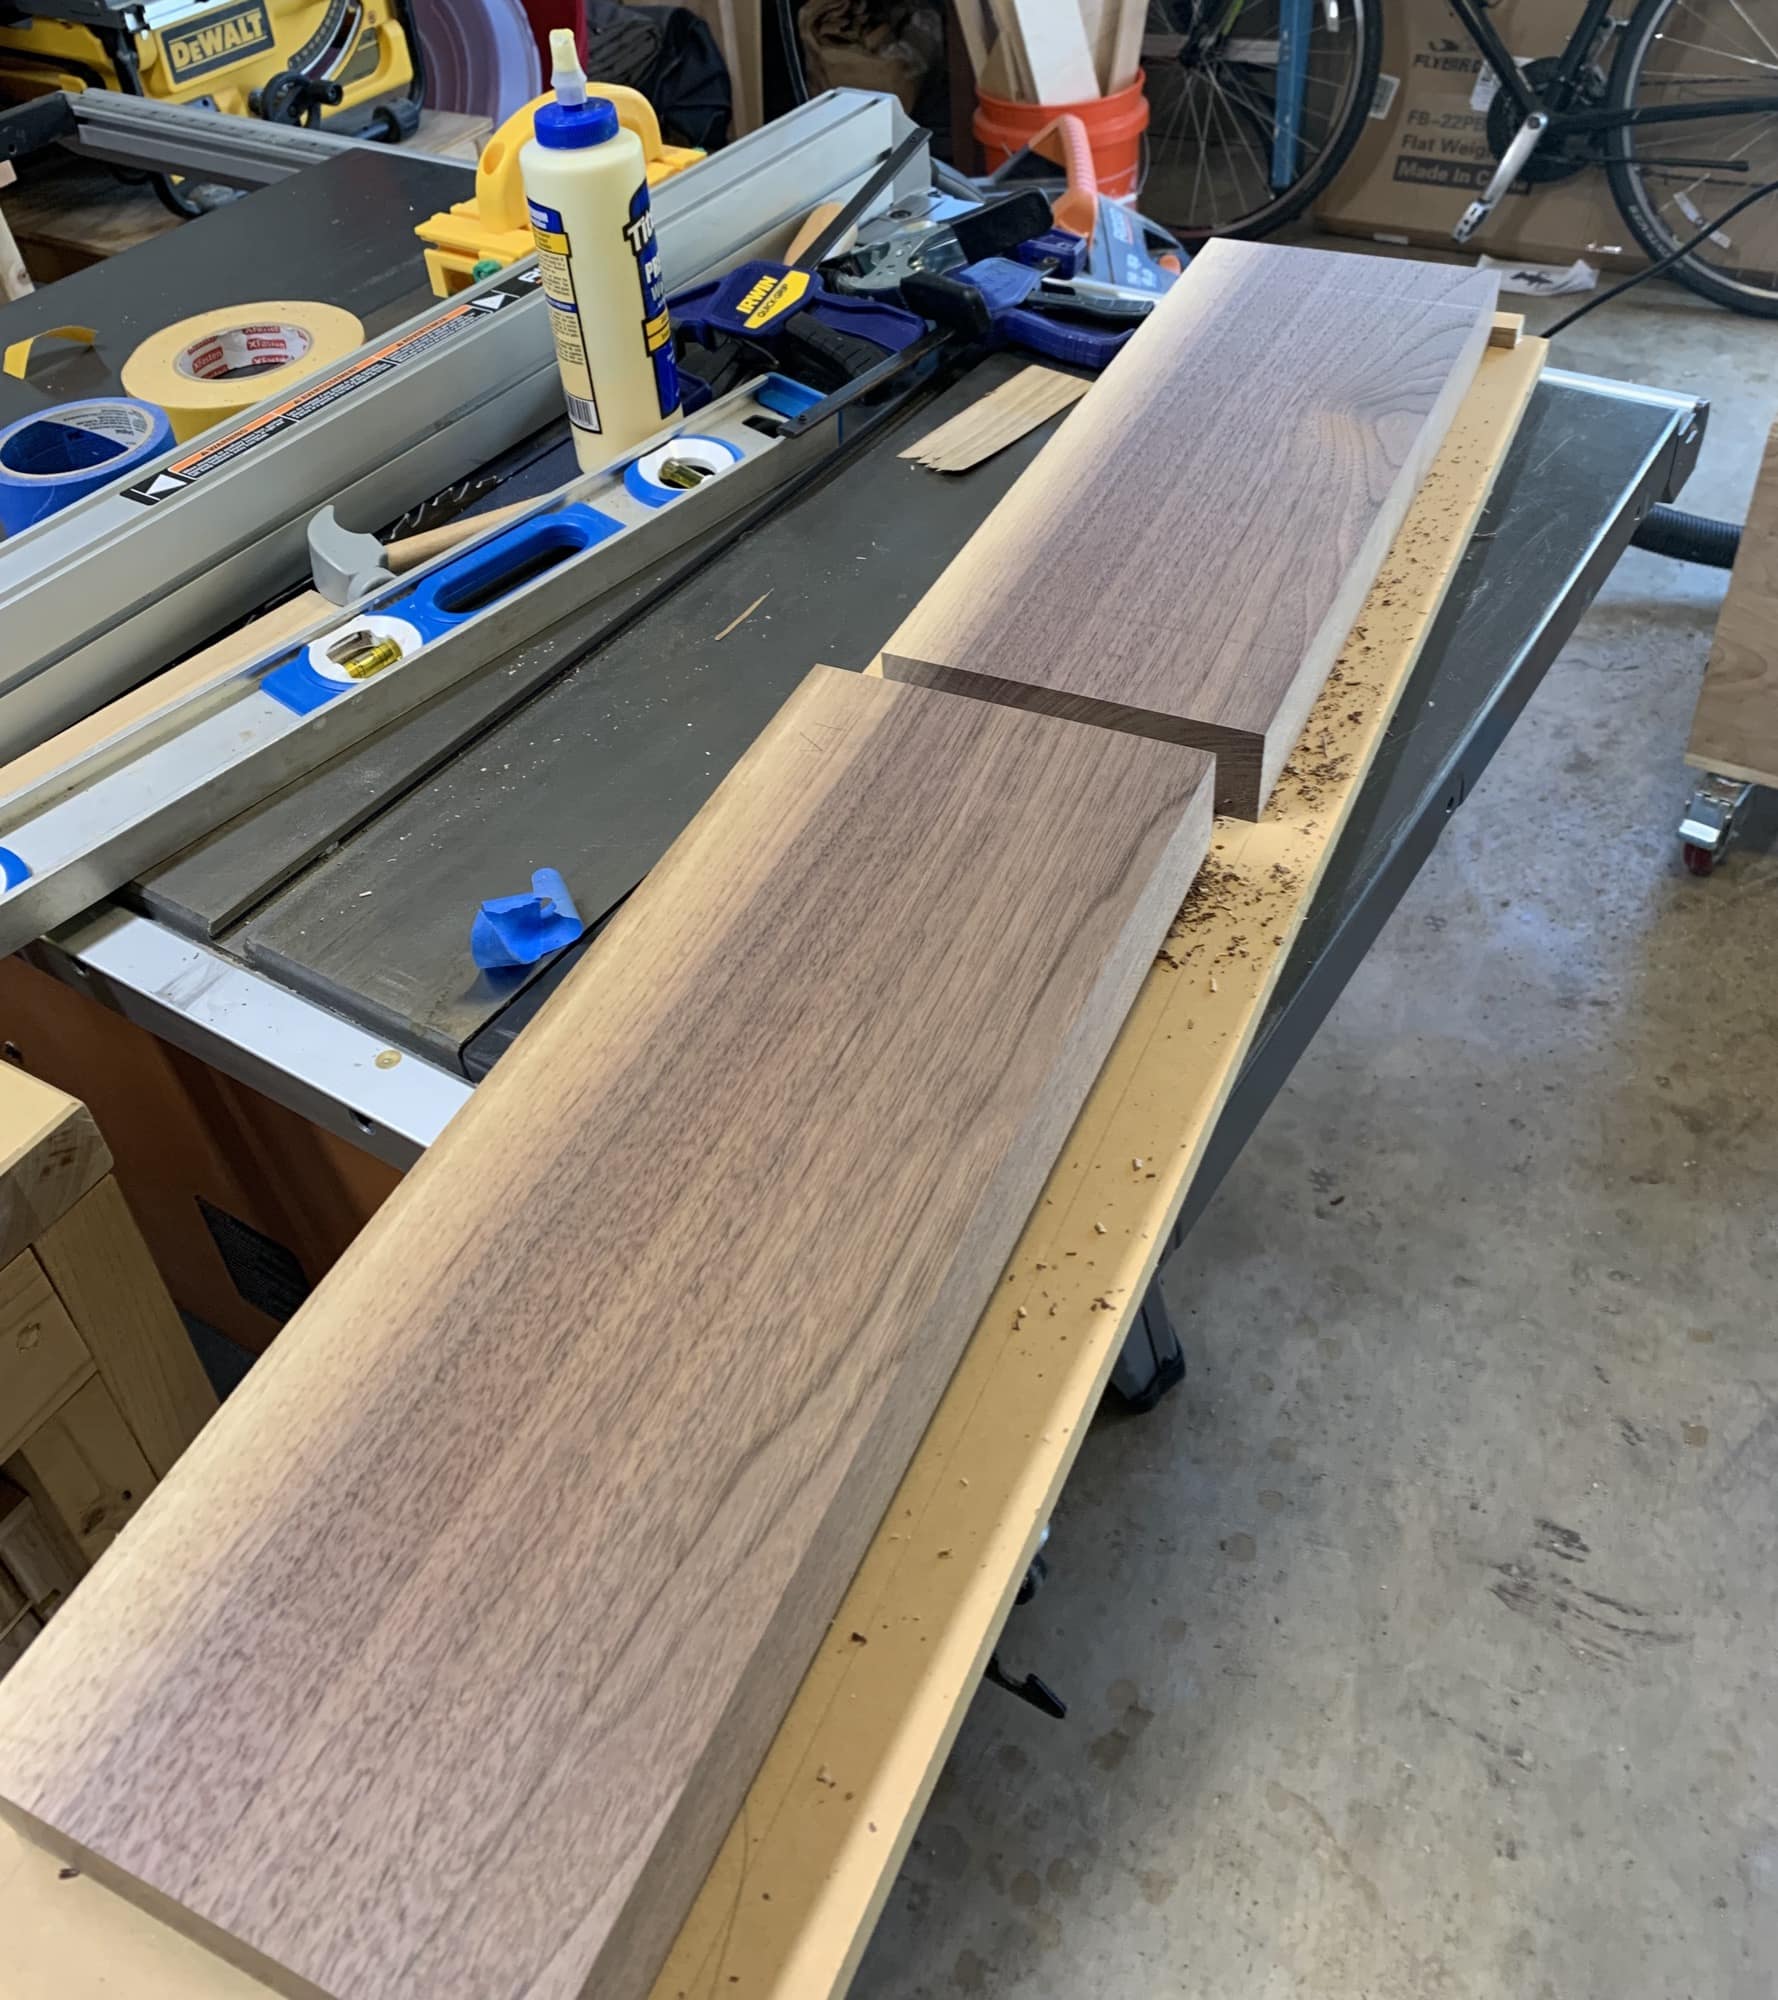
First, I chopped the 3' long board in half.
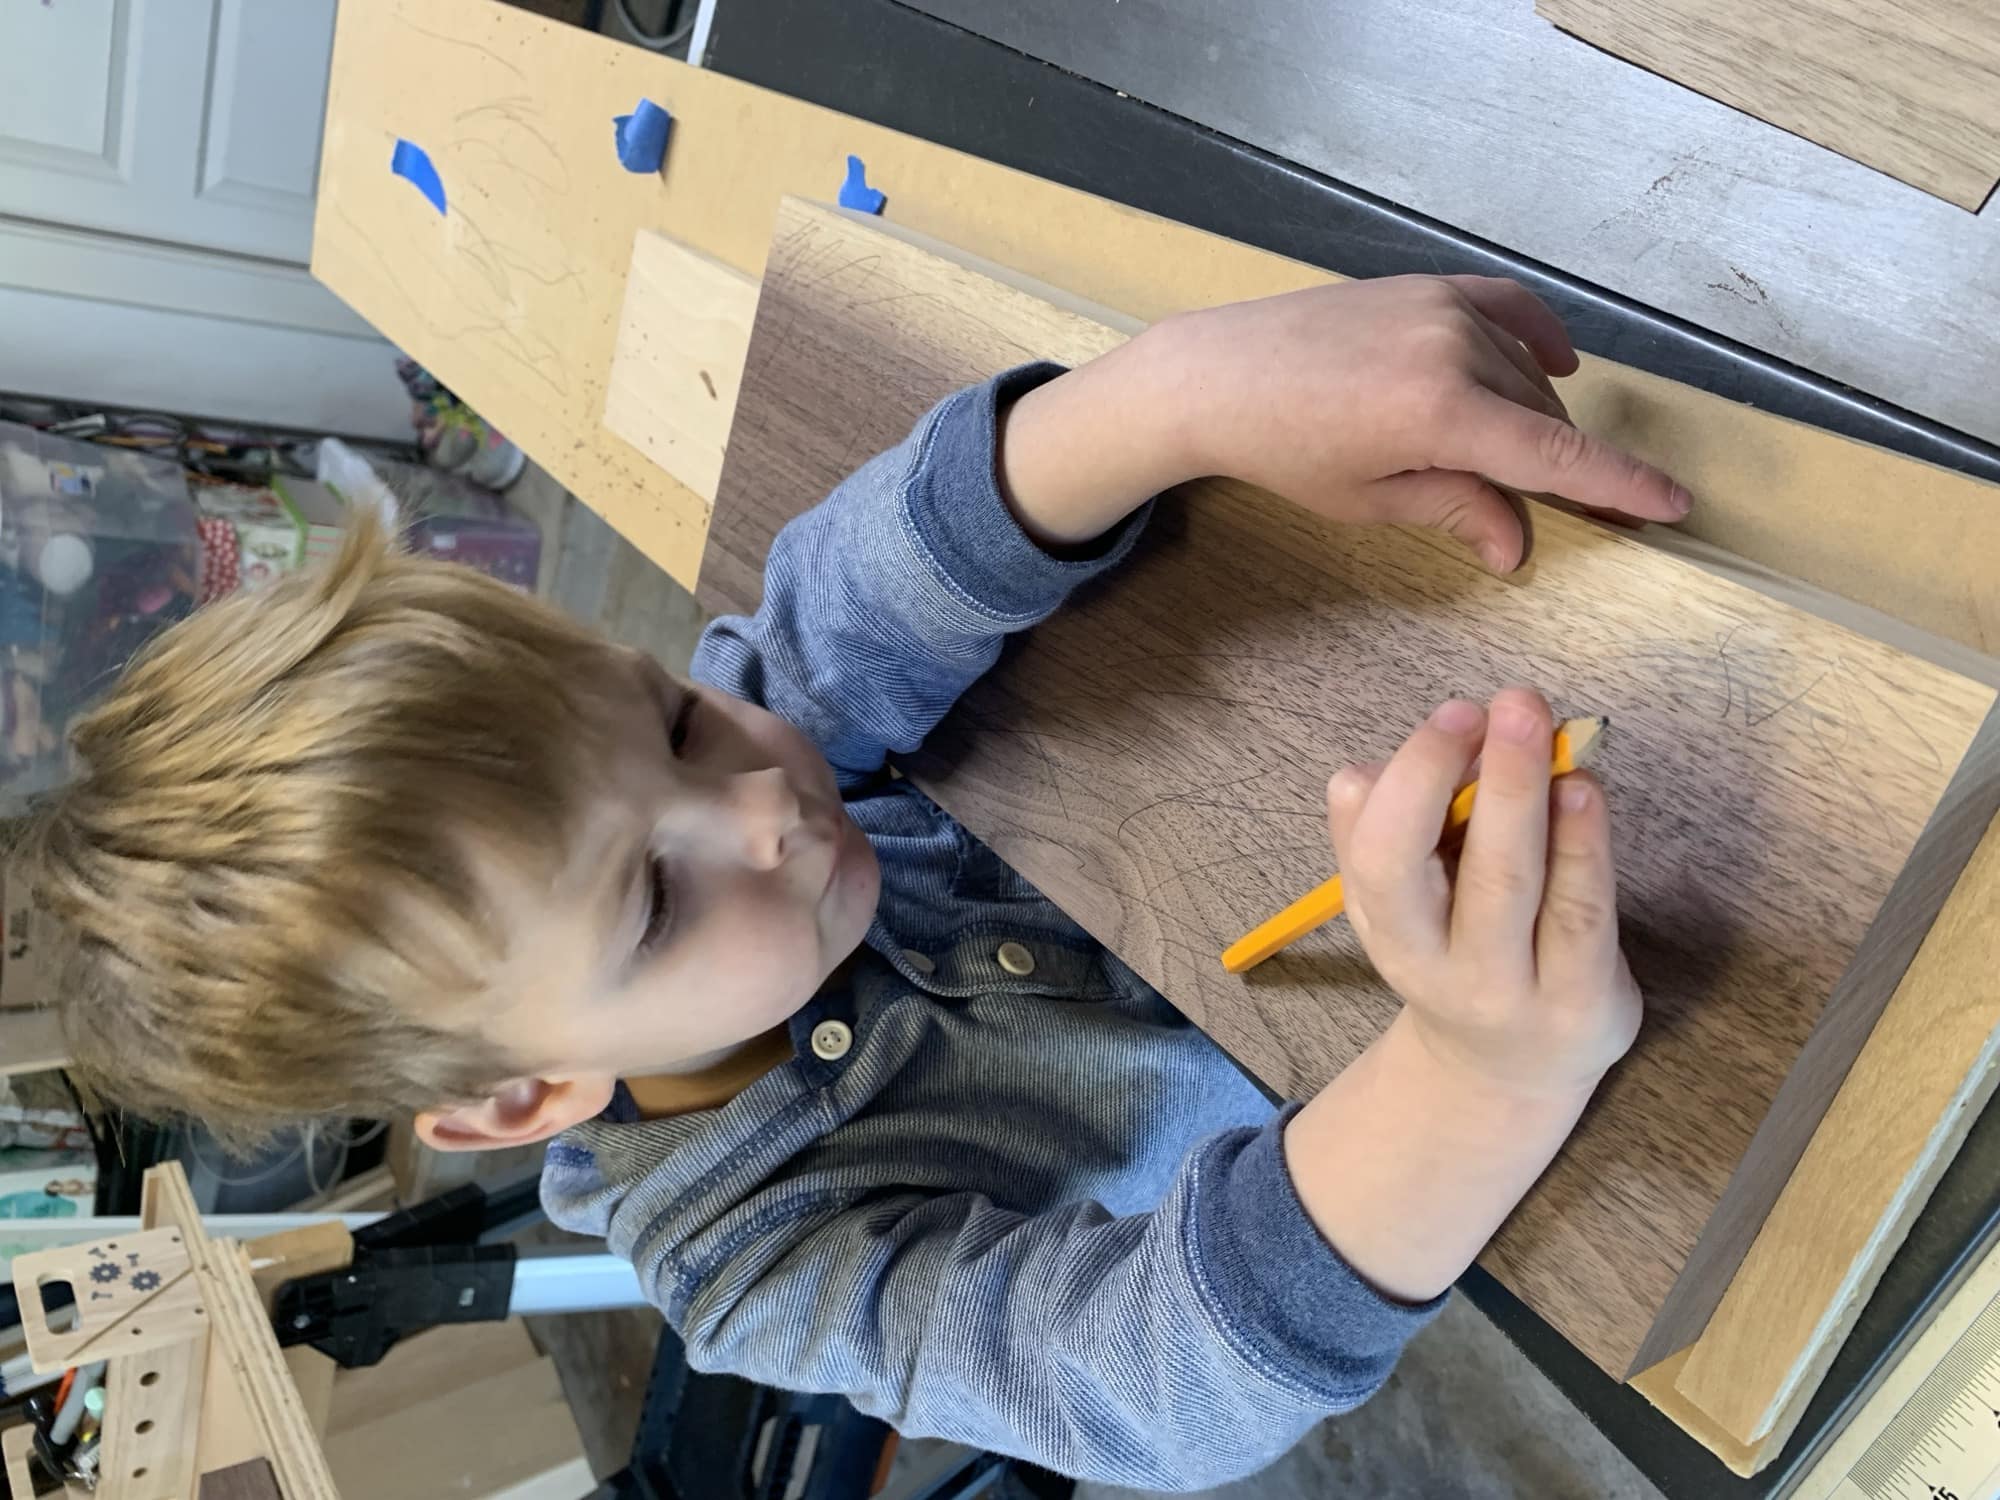
Next I ran the boards through the planer to get them flat. I don't have a
jointer, so I used a homemade sled with shims as I passed the boards through
the planer. My son Sammy helped me mark the boards with pencil so I could
see where I needed to remove material.
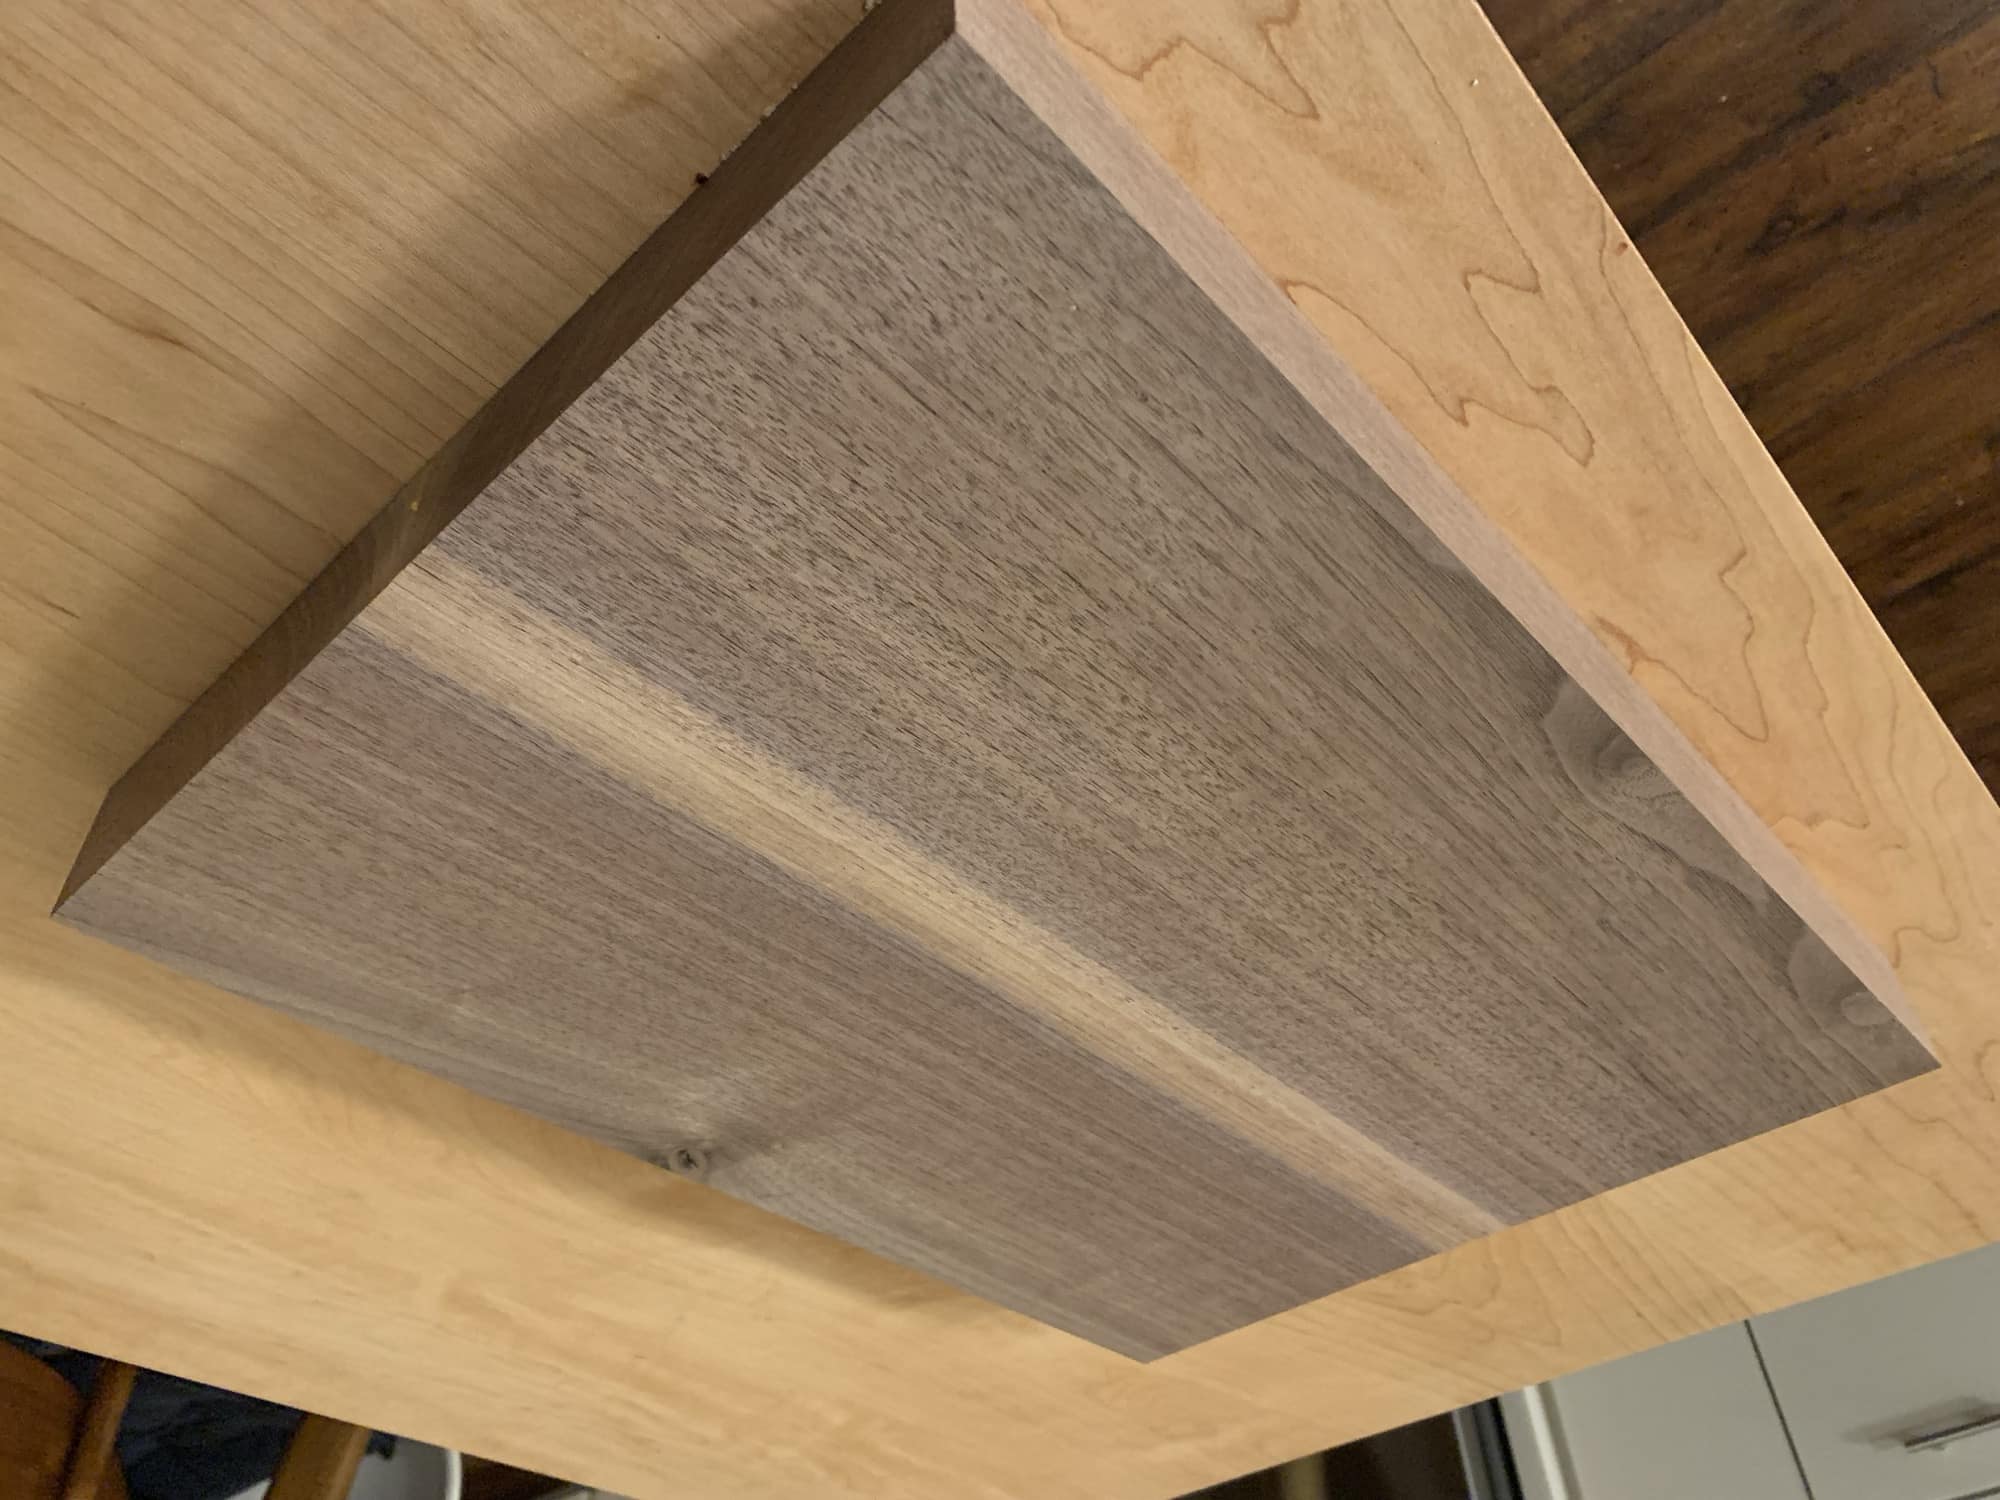
Next, I glued the two pieces together. I glued the lighter-colored sapwood
sides to each other. I selected this board at the lumber yard because of the
diagonal sapwood that can be seen on the endgrain, which is what will create
a diamond pattern on the finished piece.
Glued together and run through the planer.
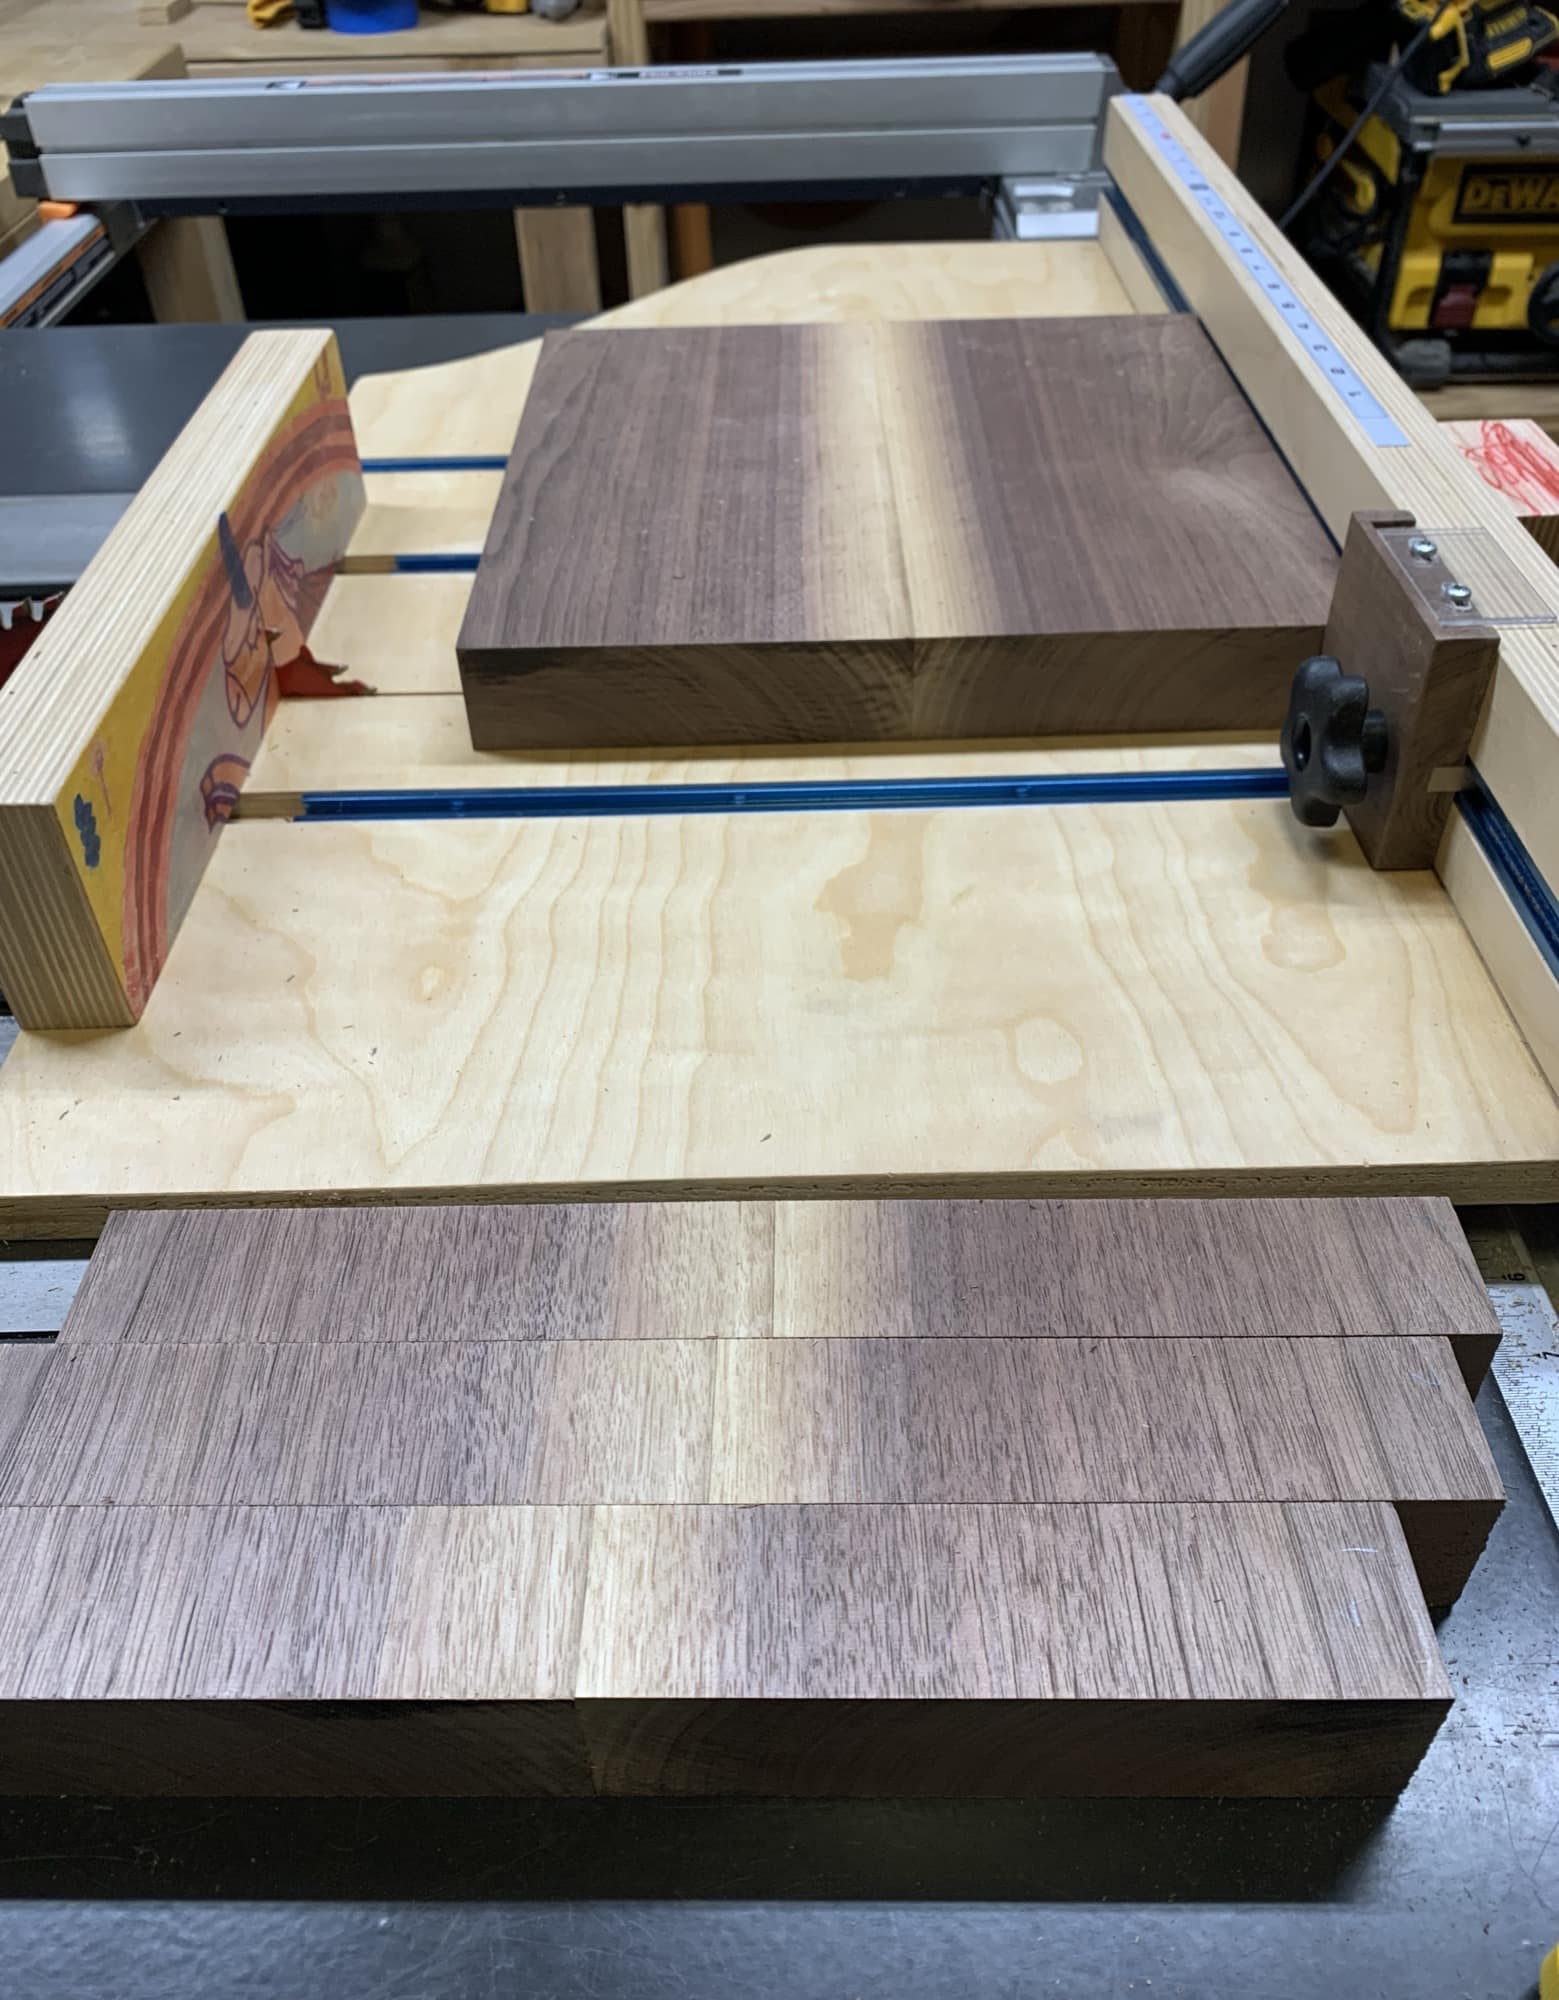
Now, I cut the board into 1.5" strips. I used a cross-cut sled on the
table saw to do this, with a stop block to make sure all the pieces were the
same length. The cross-cut sled was another recent project. As you can see,
the kids helped me design it 🦄.
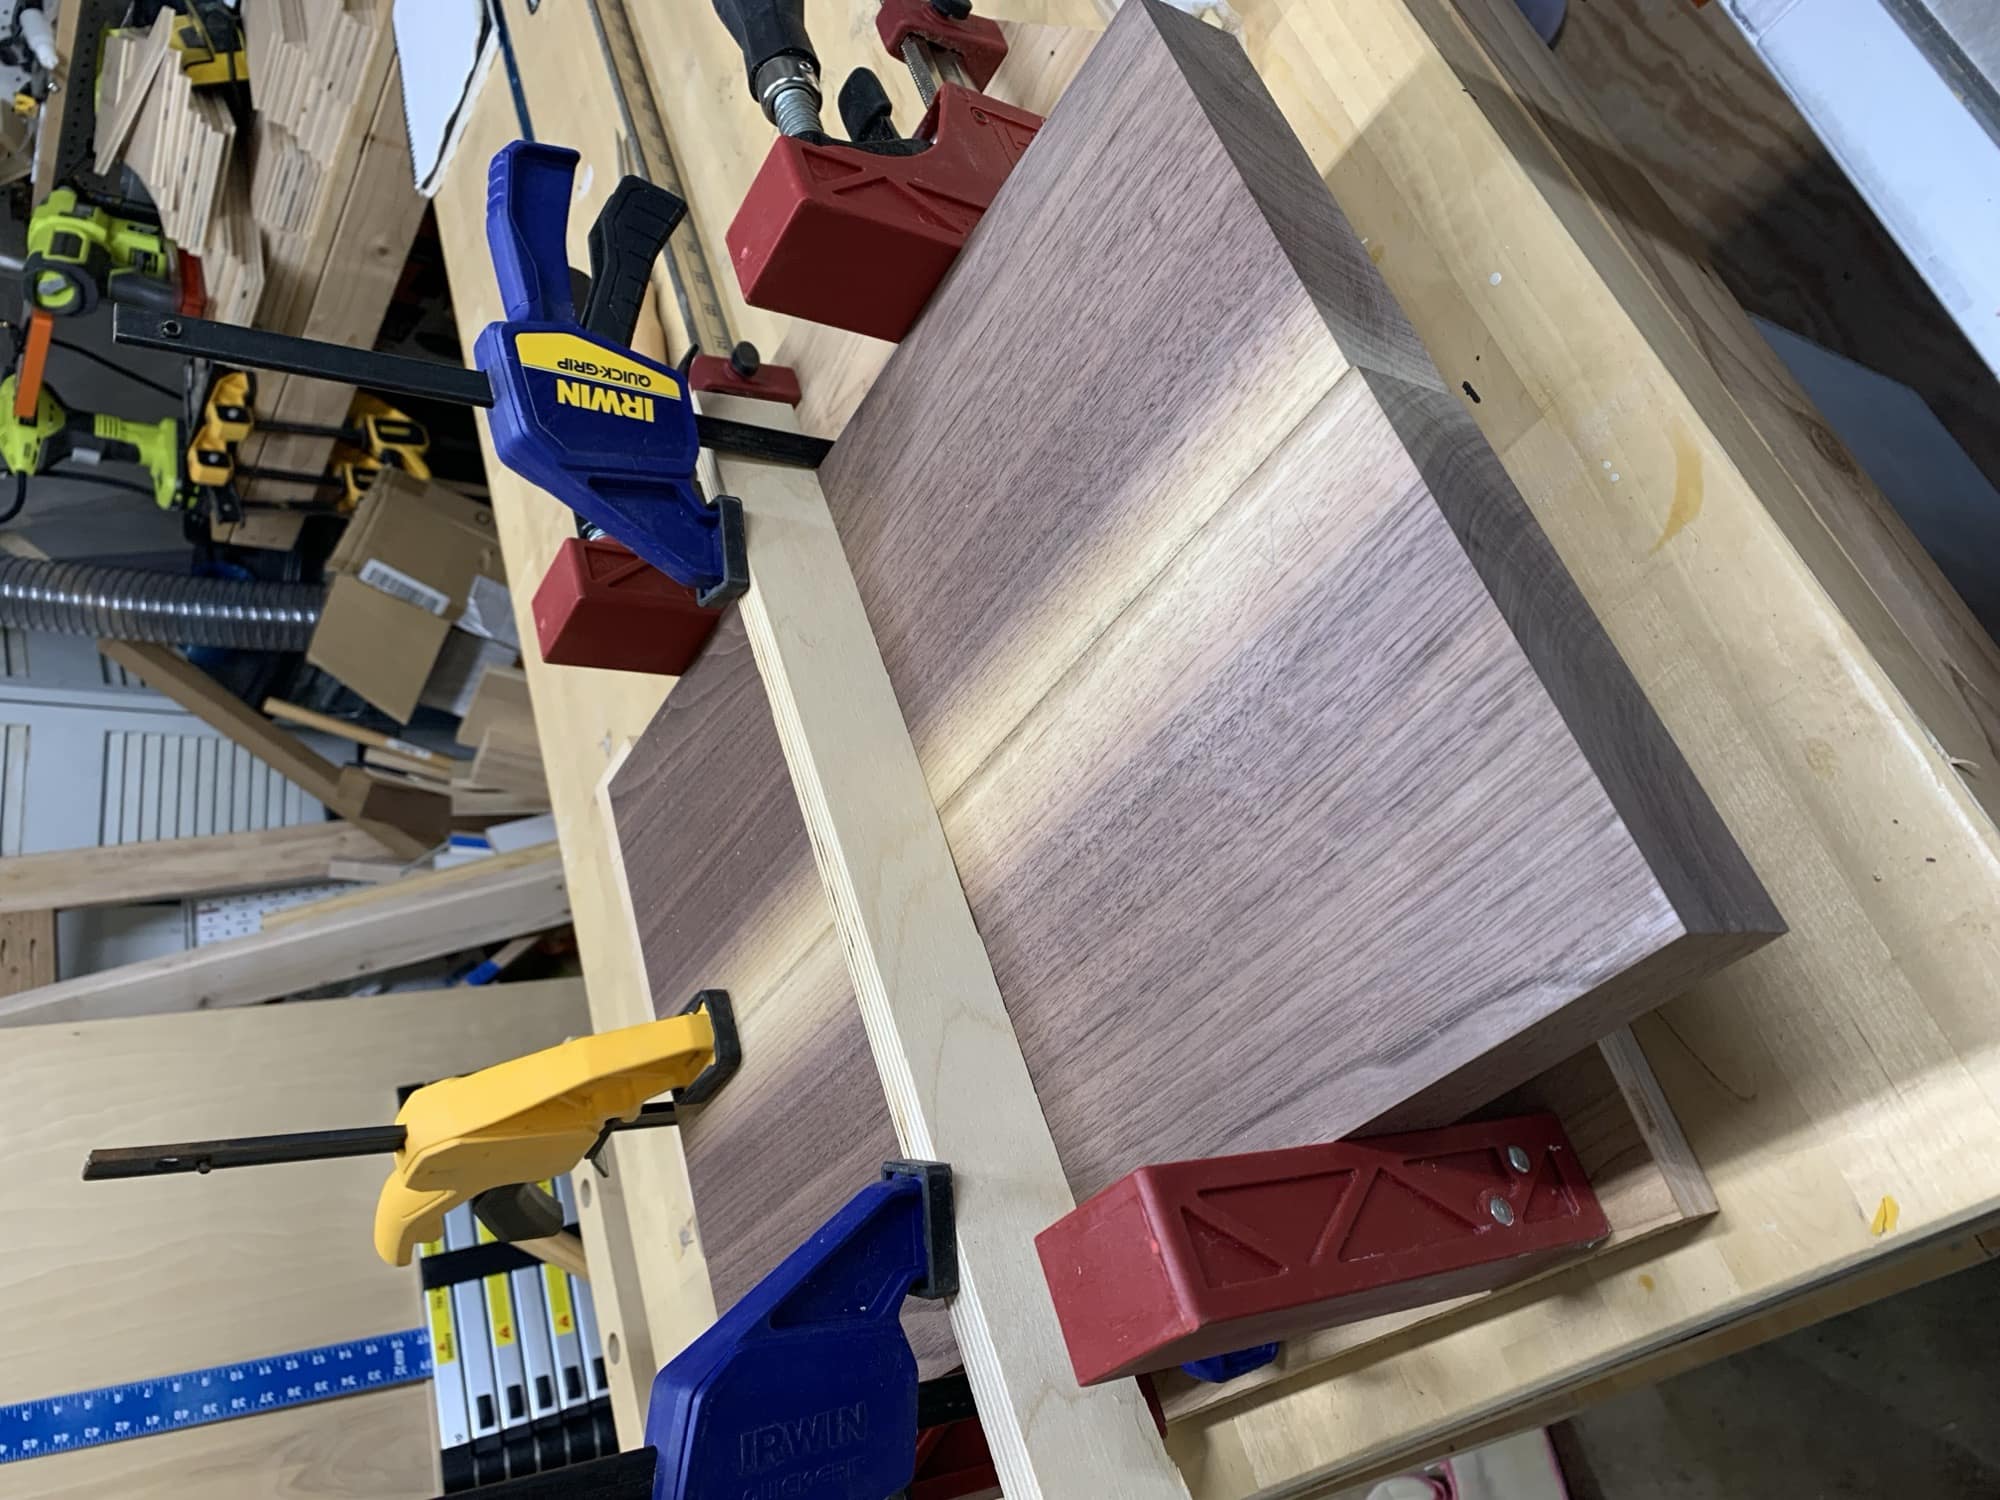
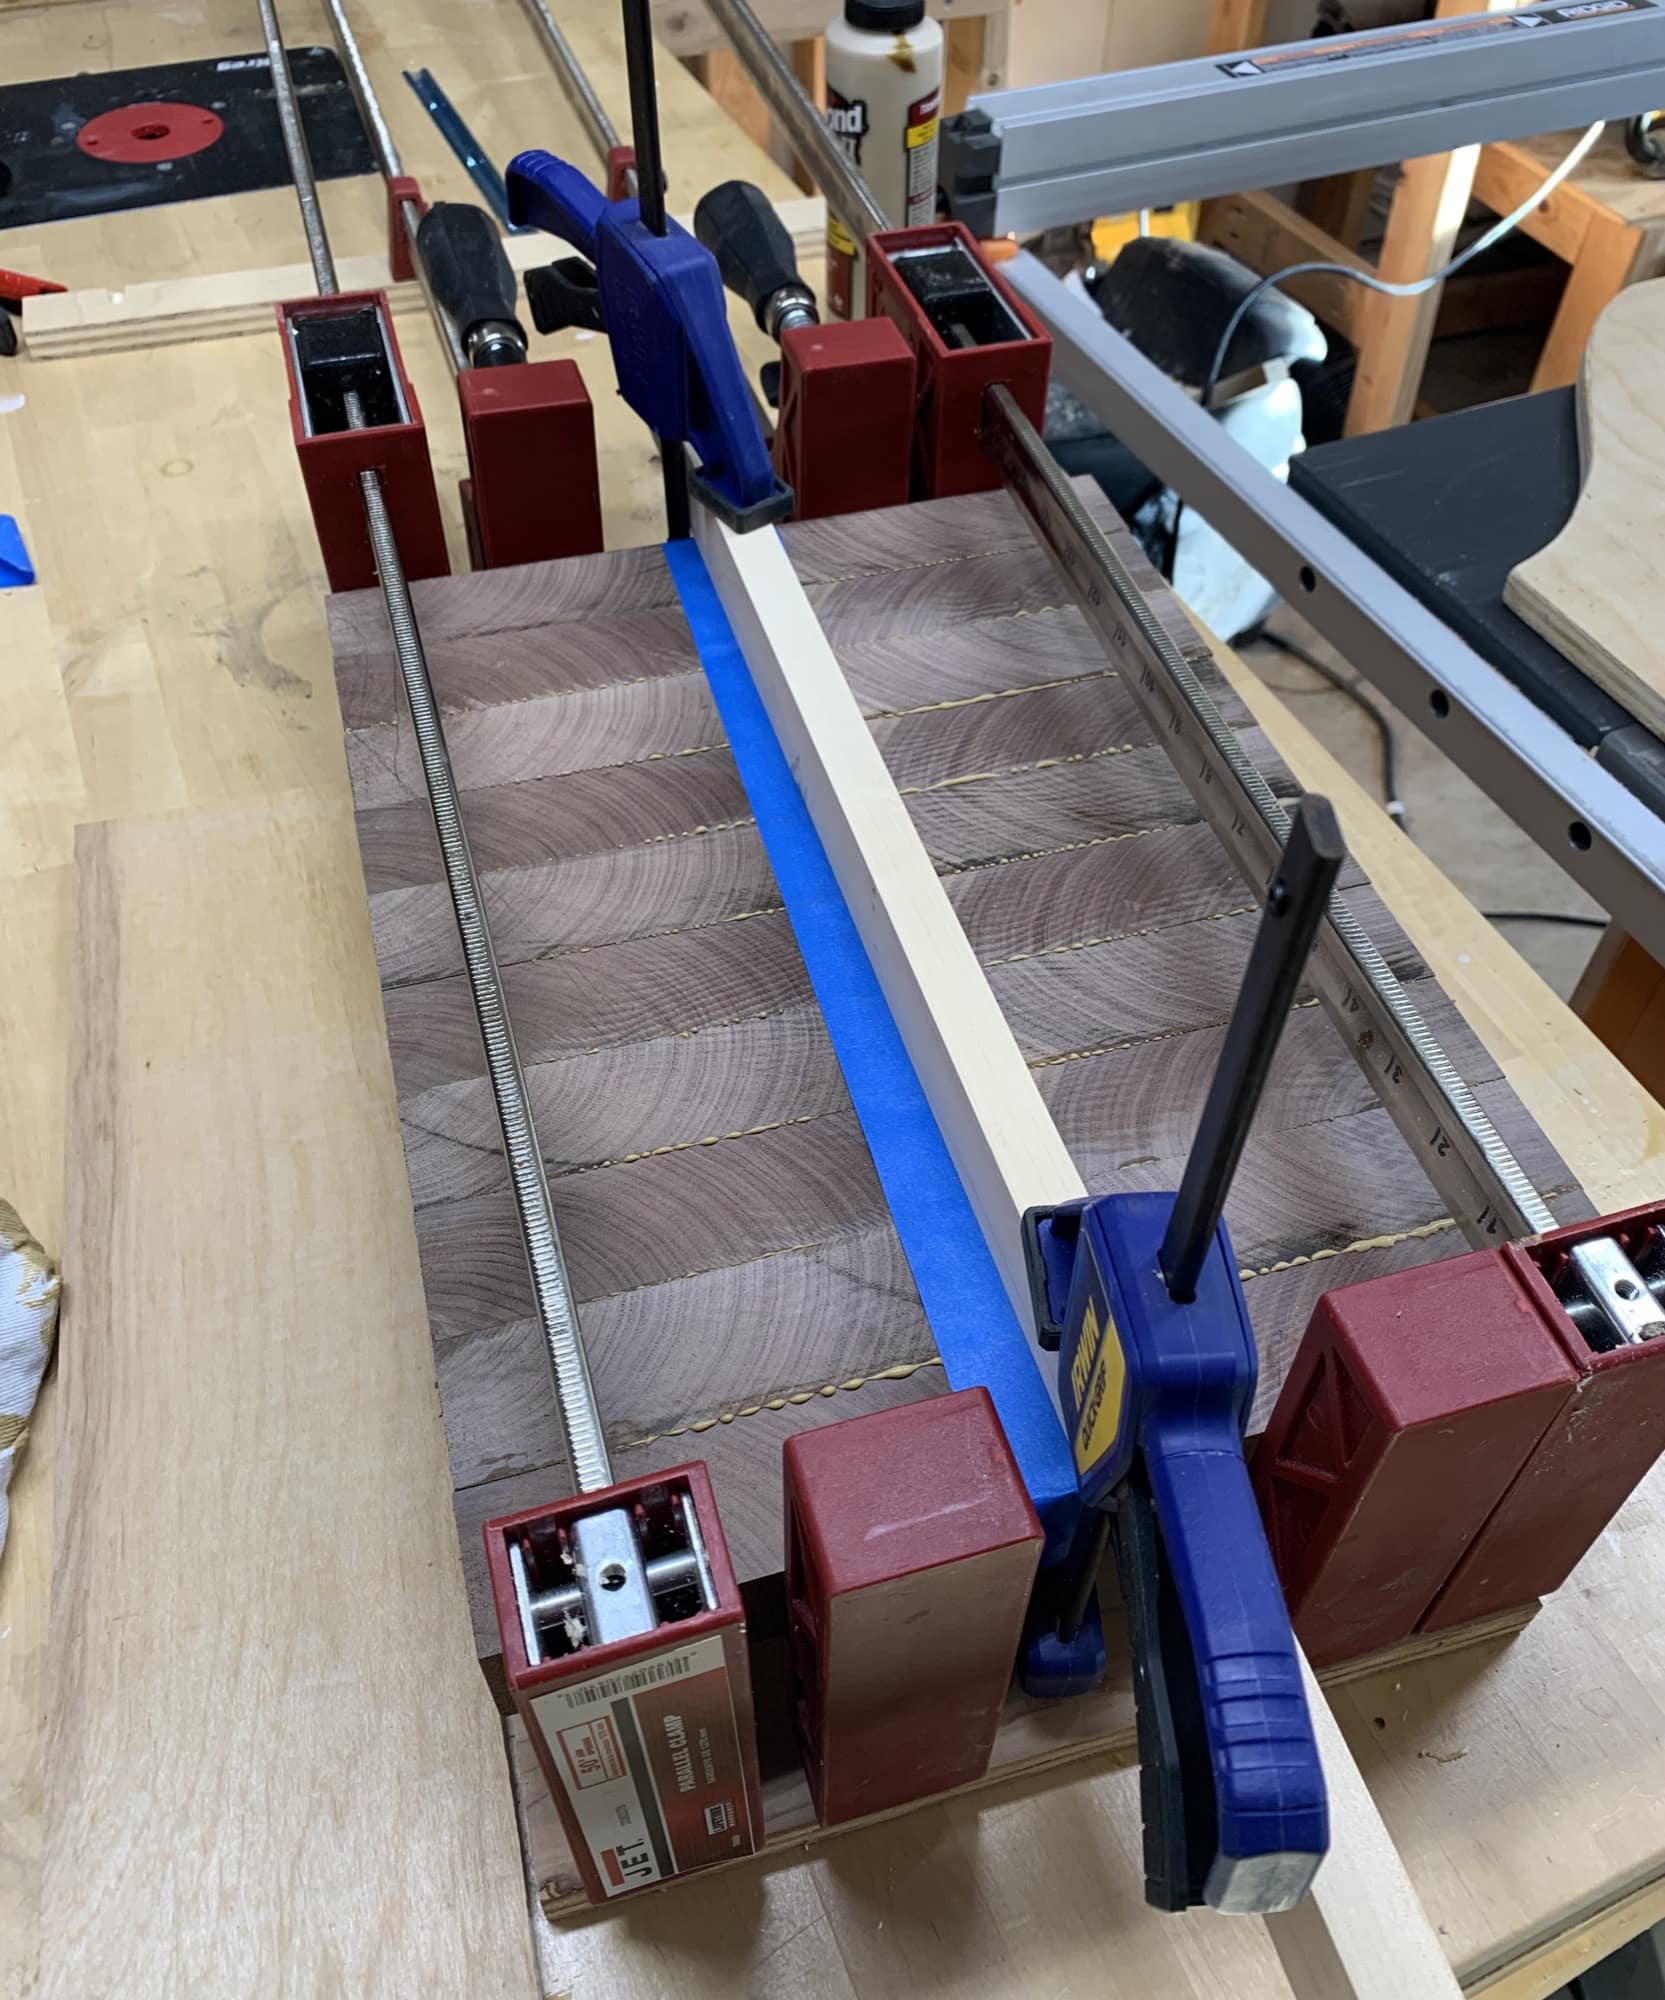
At this point, I played around quite a bit with flipping and arranging the
pieces till I got a pattern I liked. Once I was happy, I glued them all
together with Titebond II Dark. After applying the glue and taking this
picture, I flipped the boards and then clamped.
Clamped with a caul in the middle.
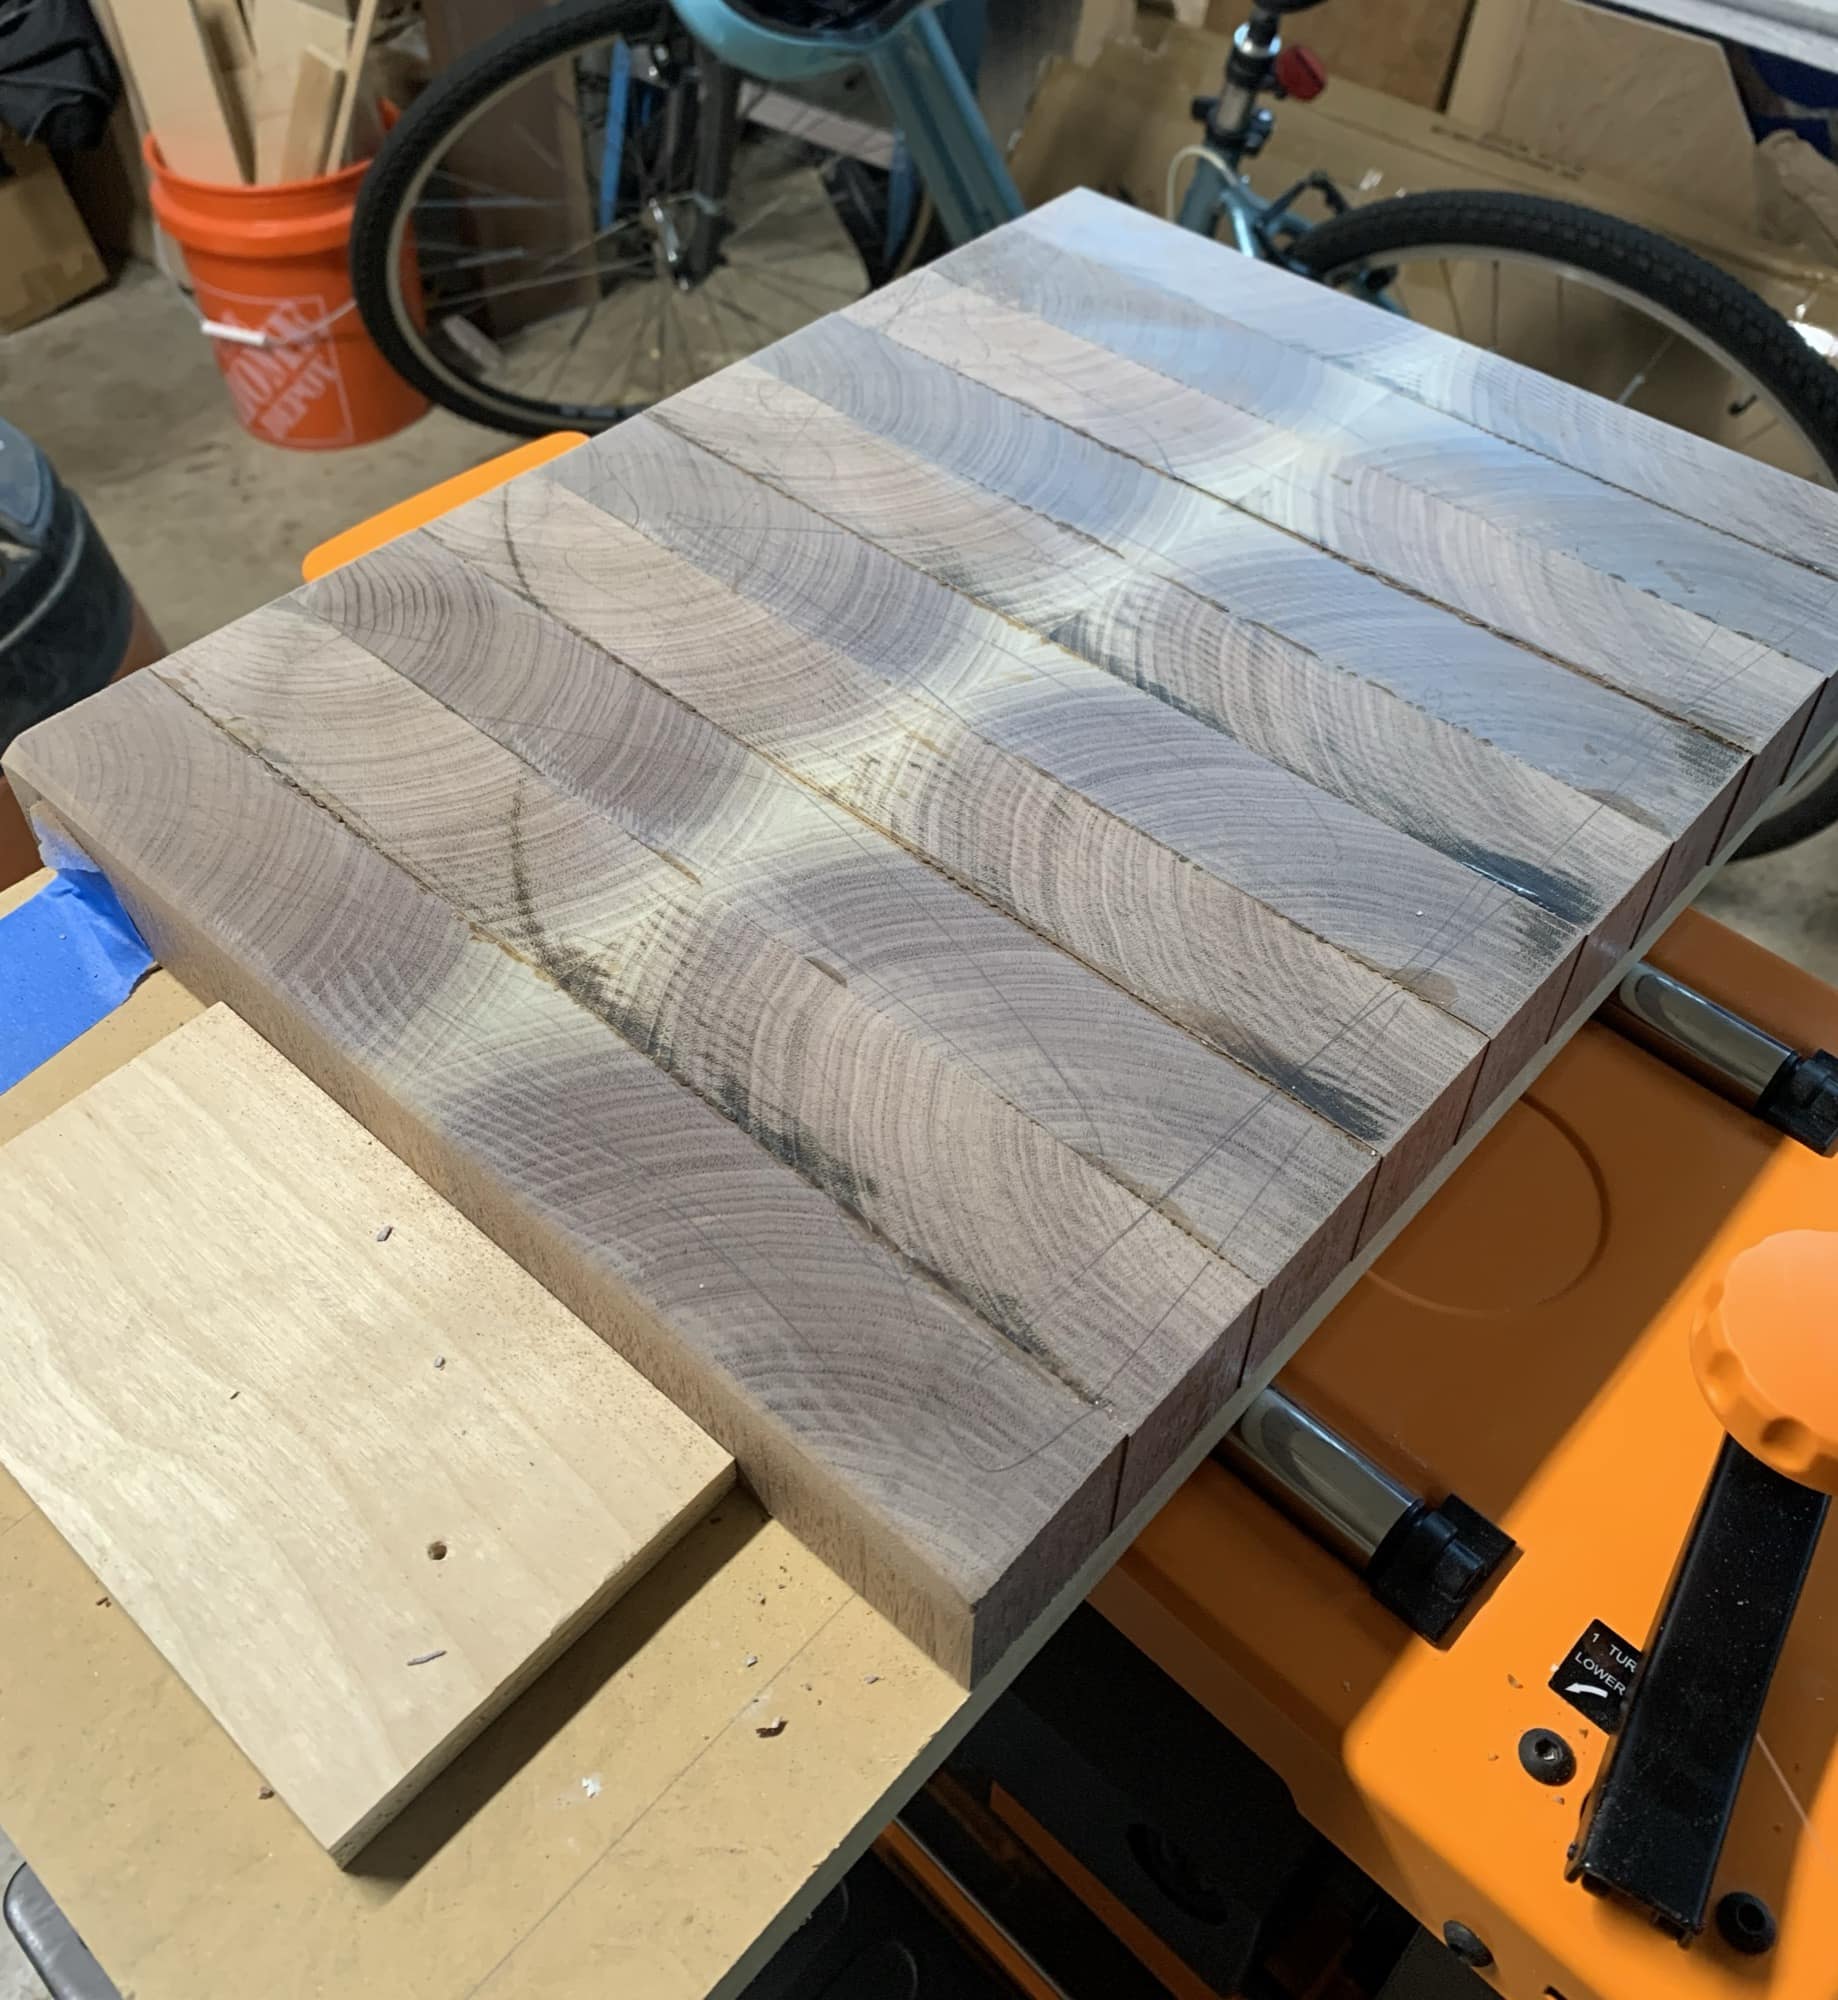
After the glue dried, I ran the board through the planer to get it flat. I
was hesitant about running end grain through the planer, but I didn't have
any issues. I first sanded a chamfer on the back edge so it wouldn't tear
out and then took very light passes through the planer.
j
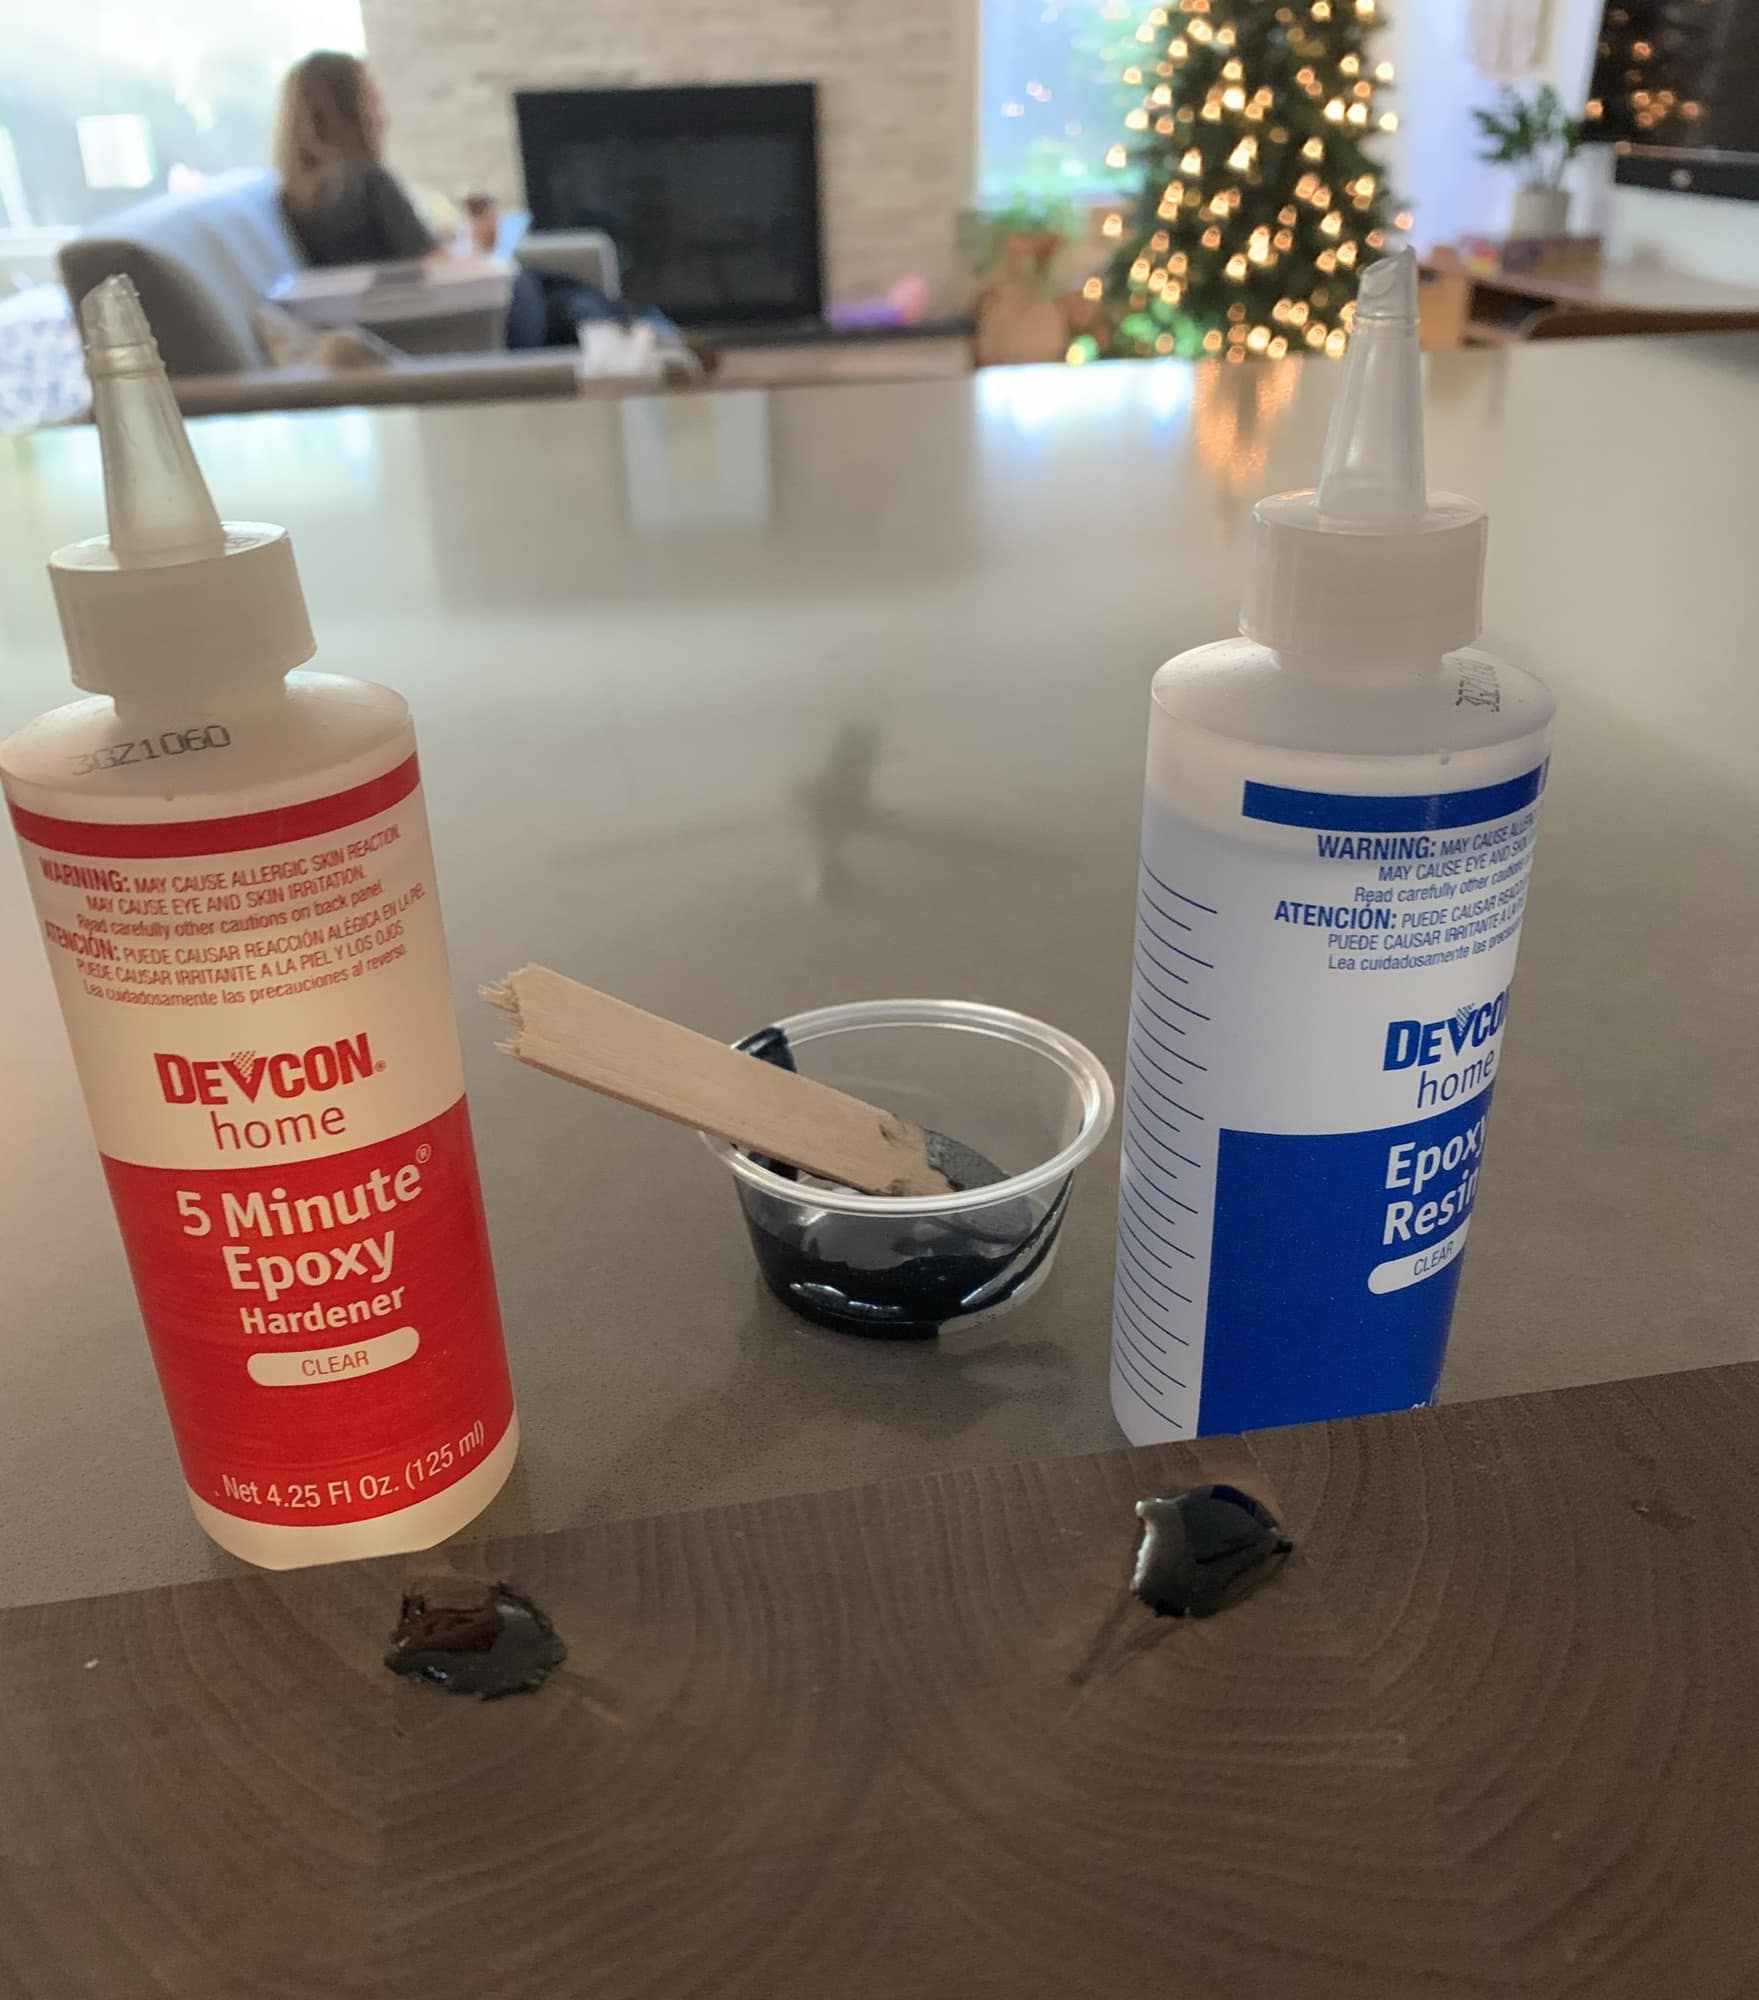
Filled a couple knots with black-dyed epoxy. I arranged the boards beforehand so these would be on the bottom. This picture was taken on New Years Eve, so I think I was allowed to still have the Christmas tree up.
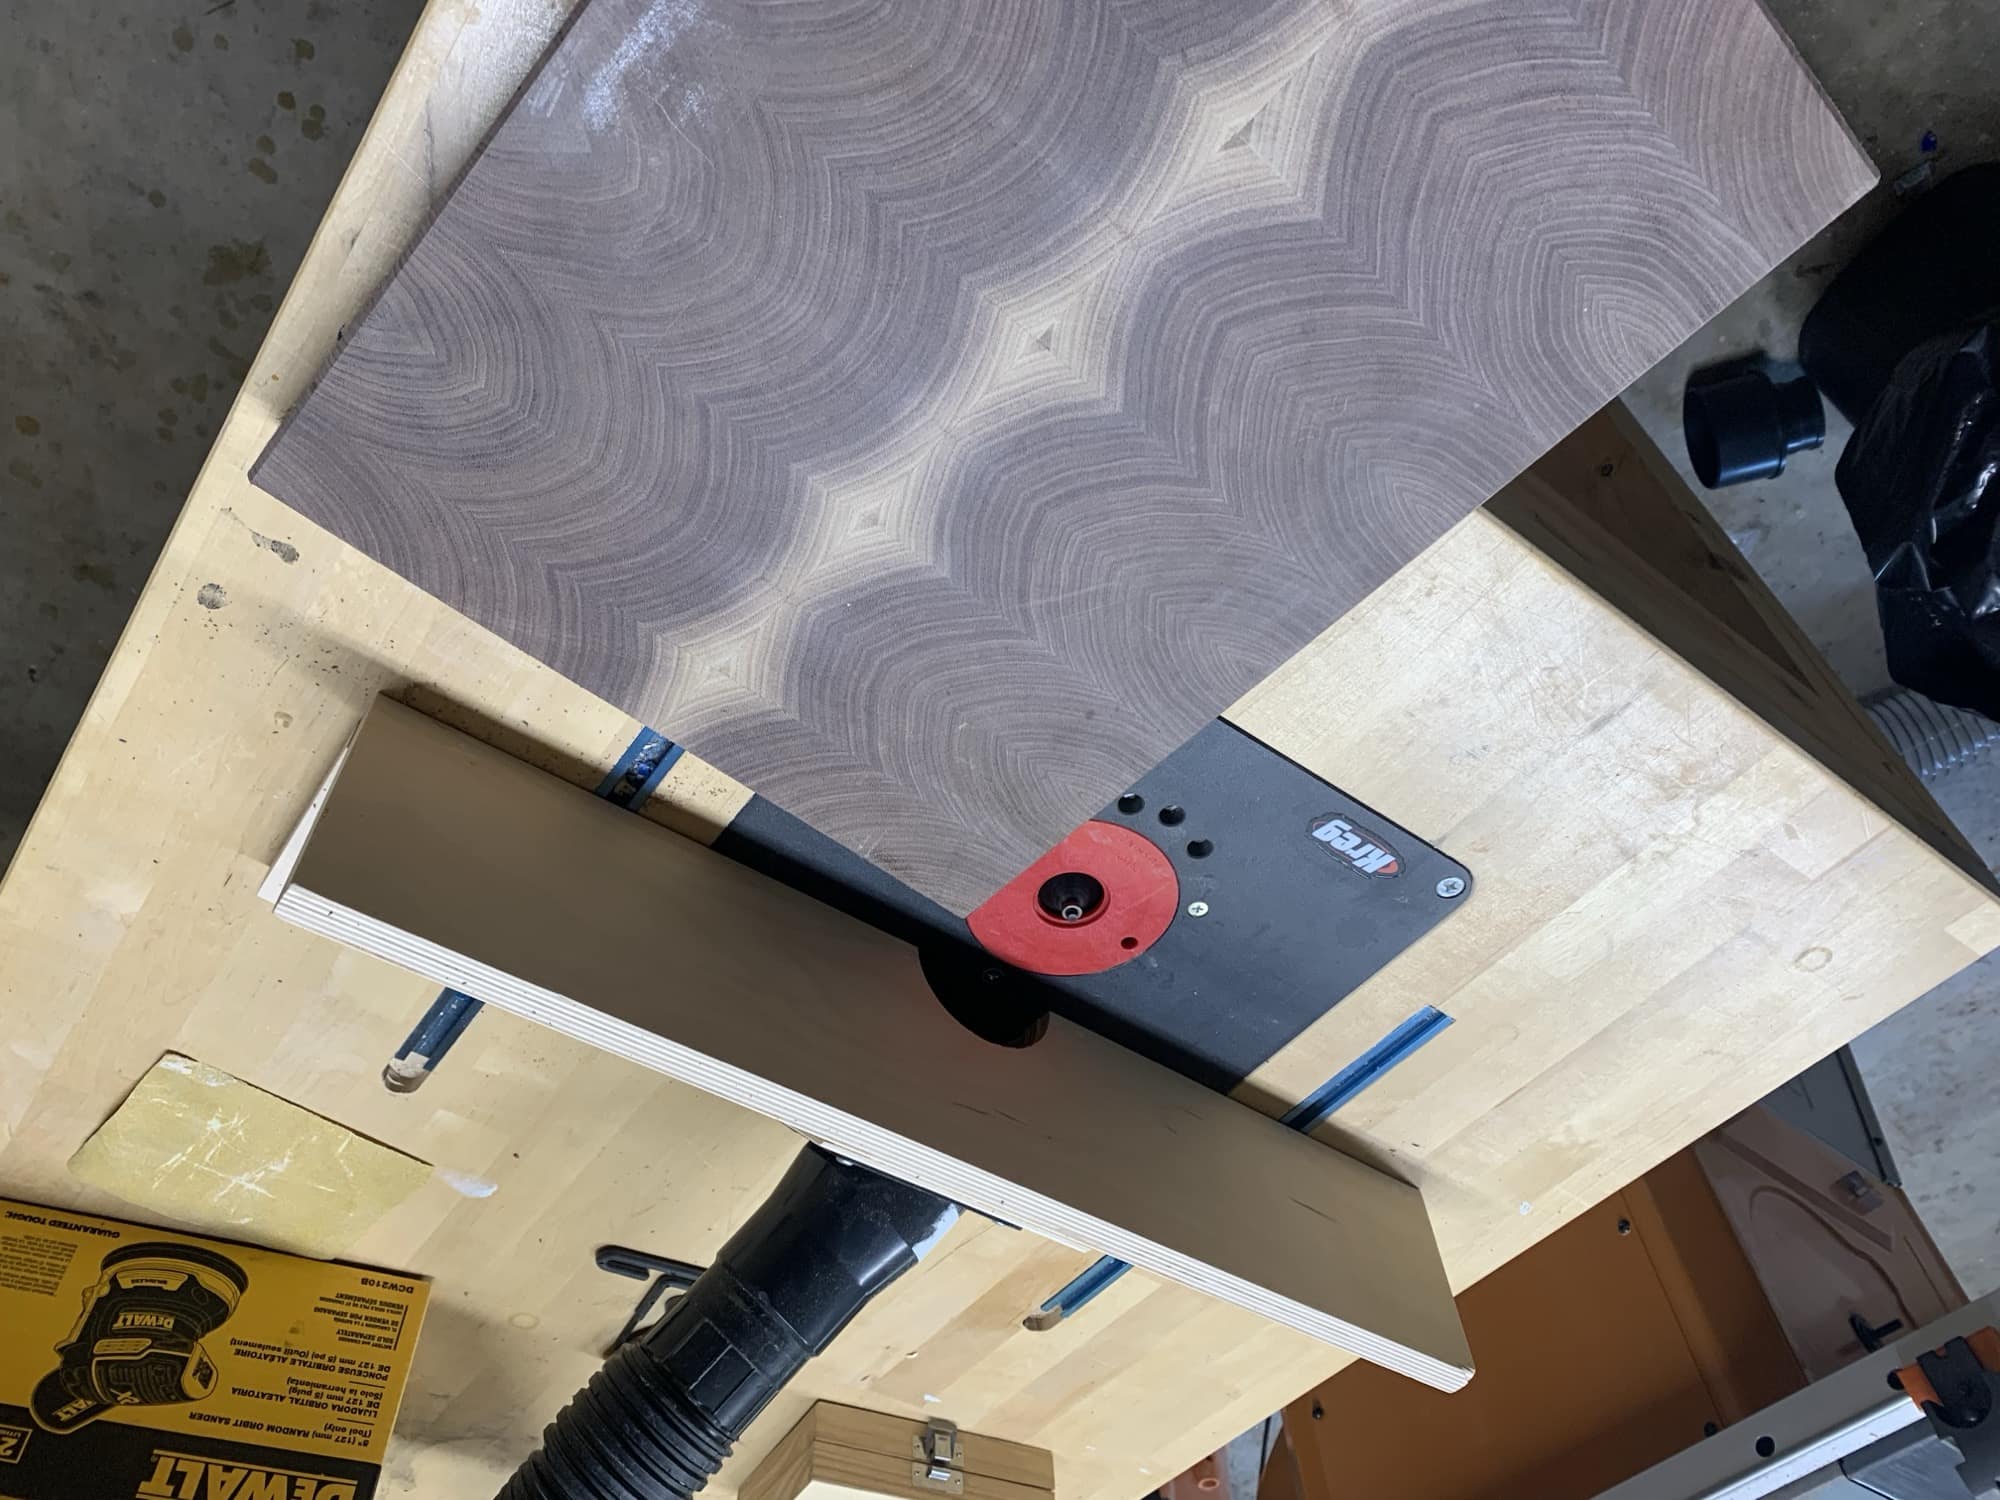
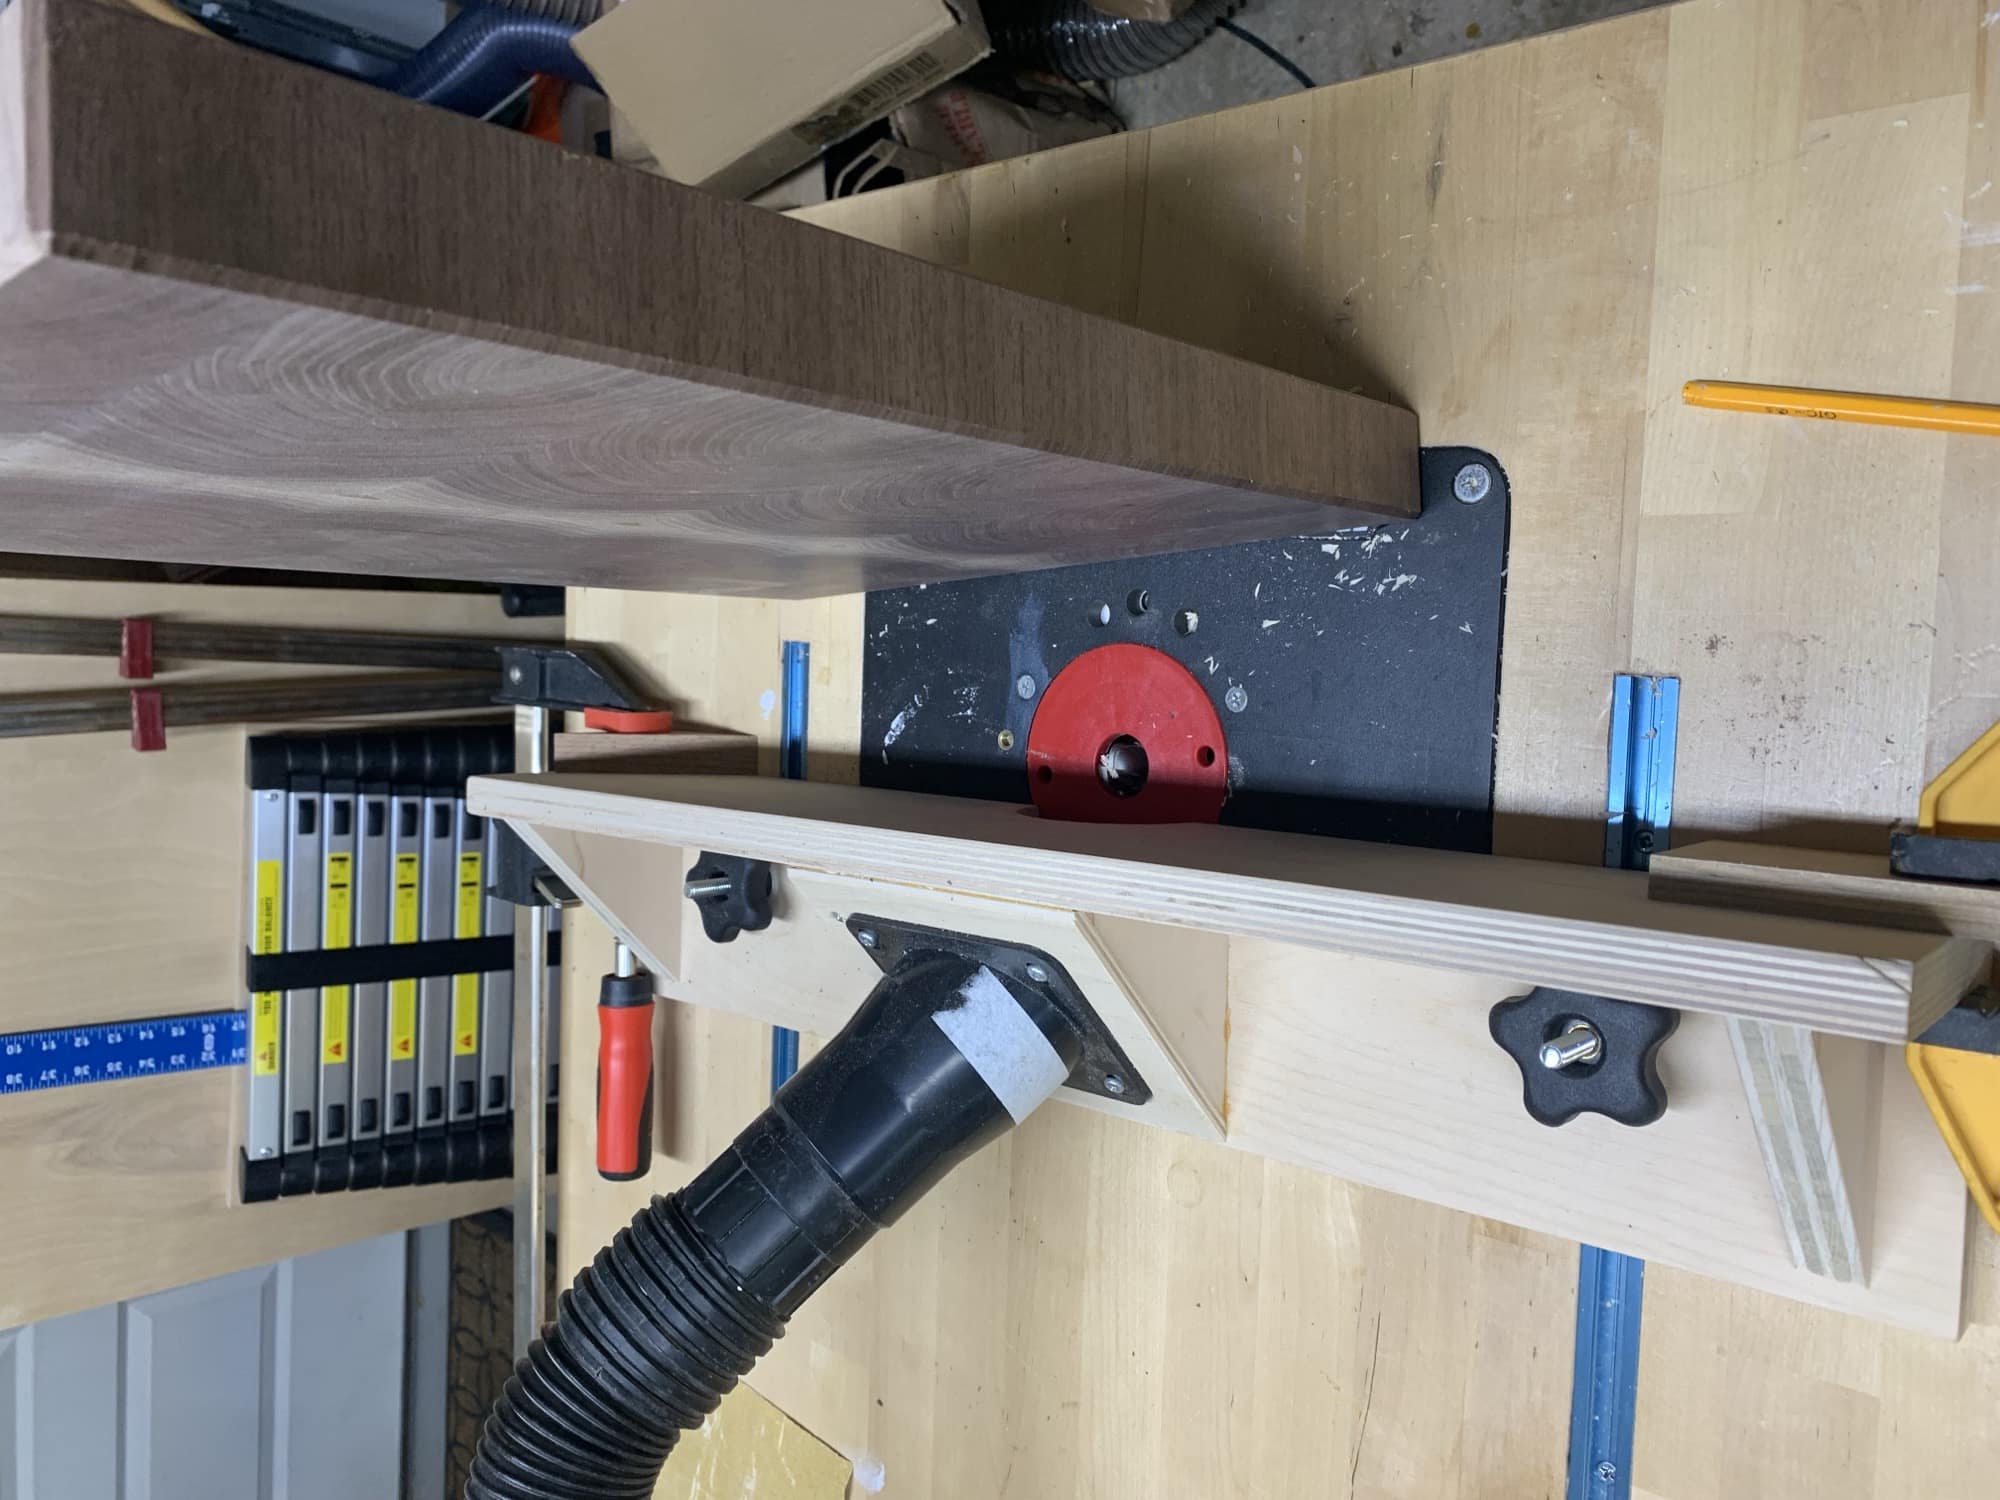
Now it was time to route a chamfer on all the edges. I used a 45-degree chamfer bit in my router table.
Then, I routed finger holds on the sides. I used a cove bit in my router table for this.
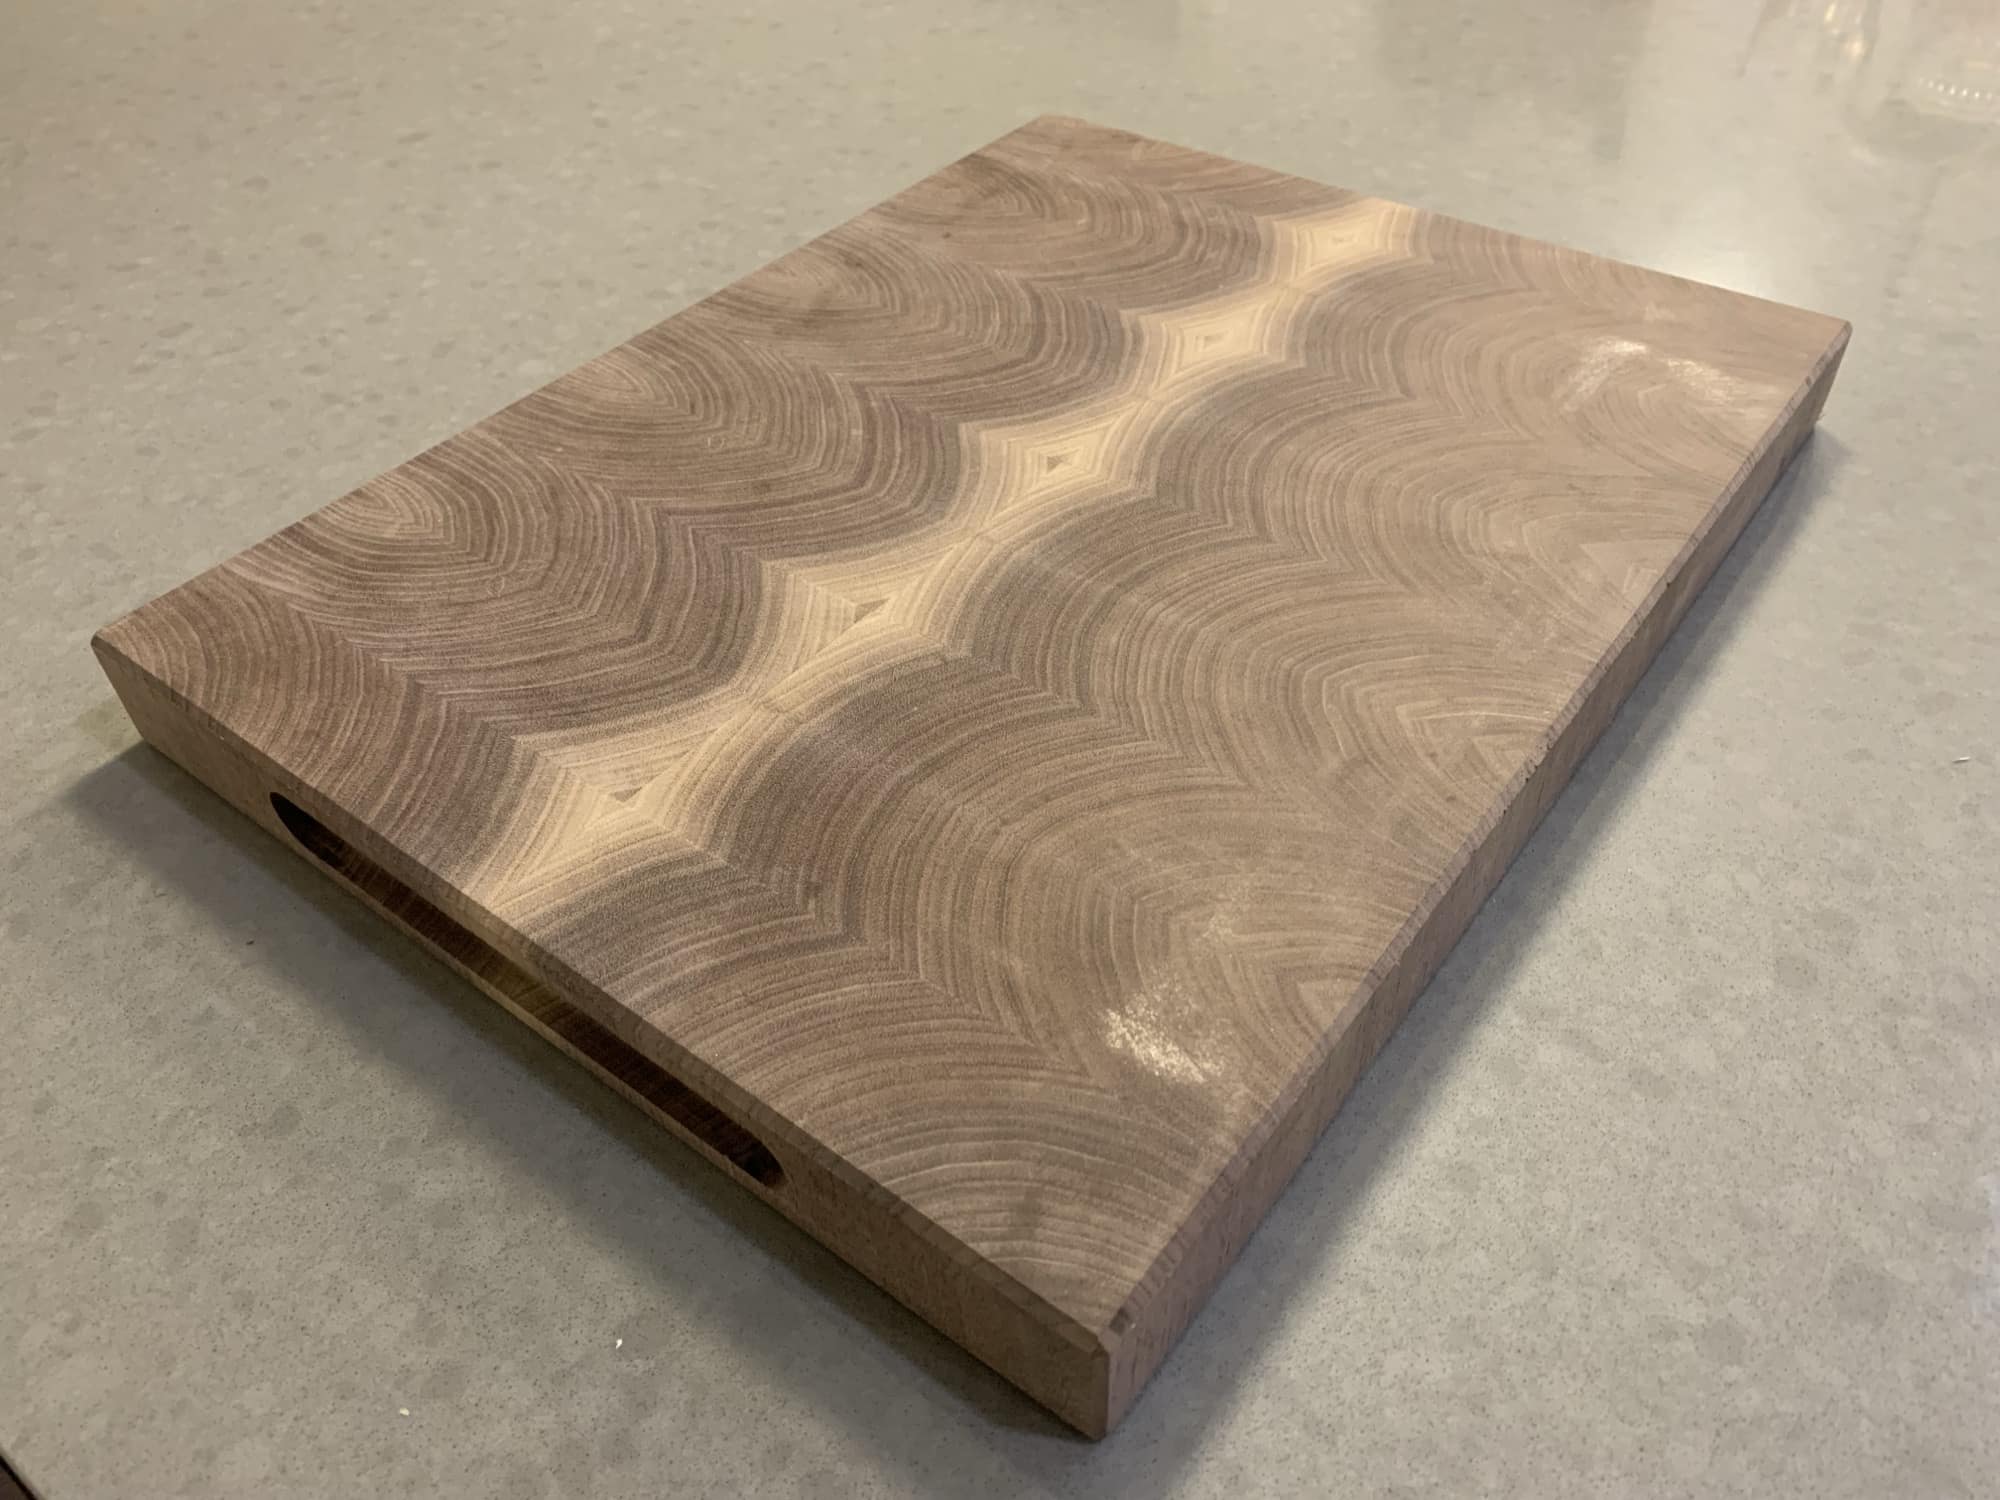
Getting close! Chamfers and finger holds routed. Now I just need to sand and finish.
I skipped over a few days while I built the second cutting board. I used a
slightly different design on the second board, that I won't go into in this
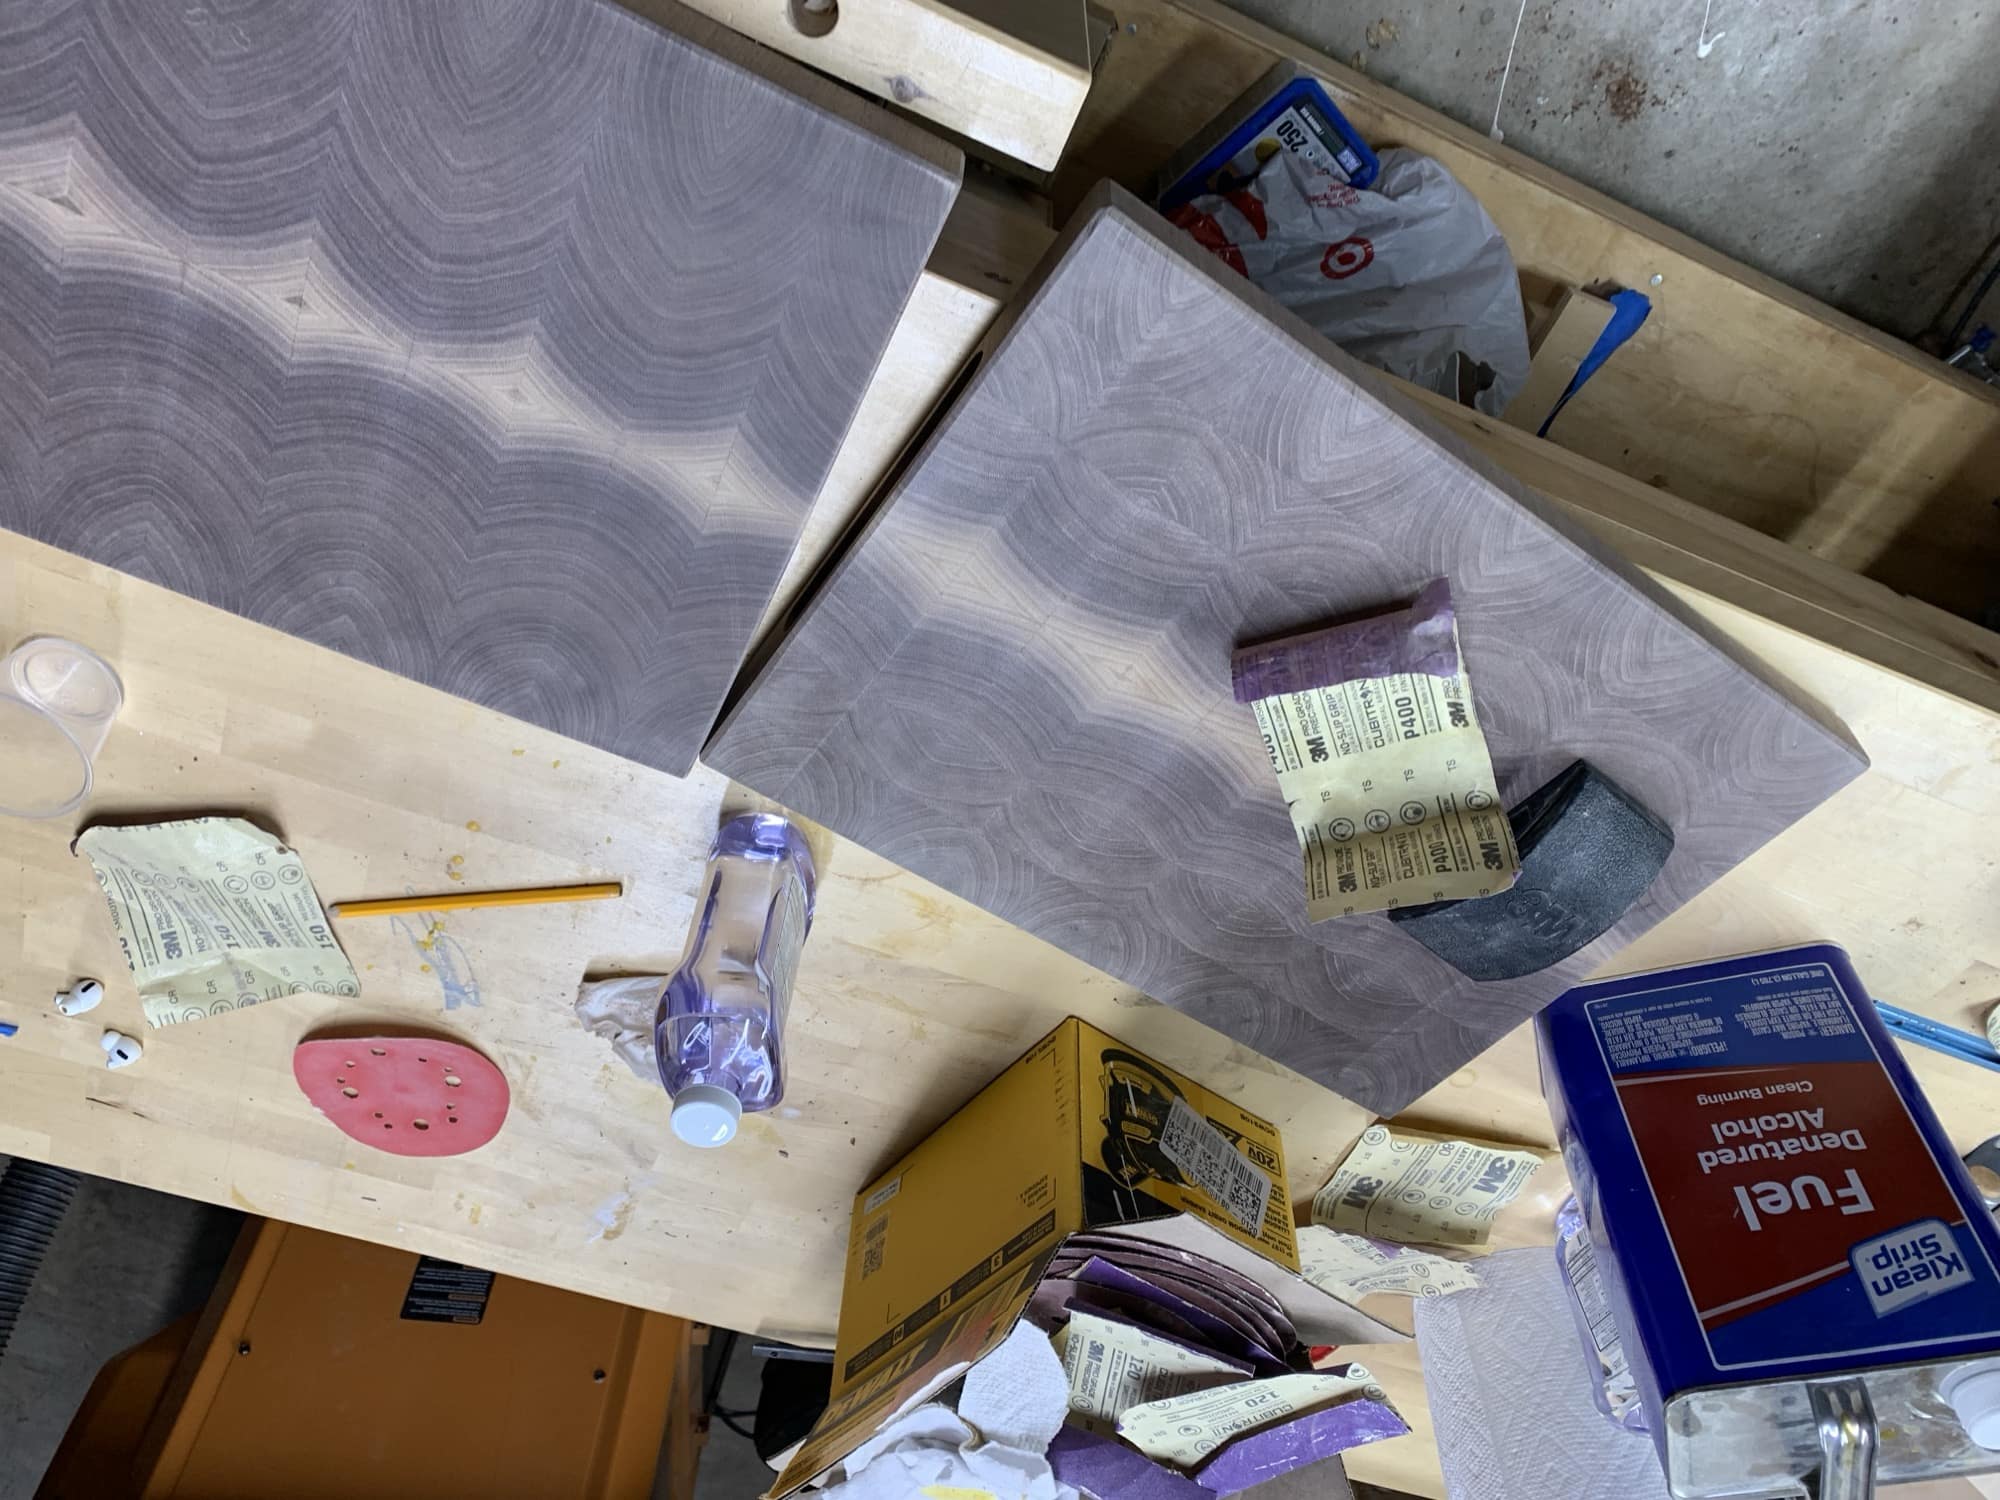
post. Now, I'm sanding the boards to prep for finish.
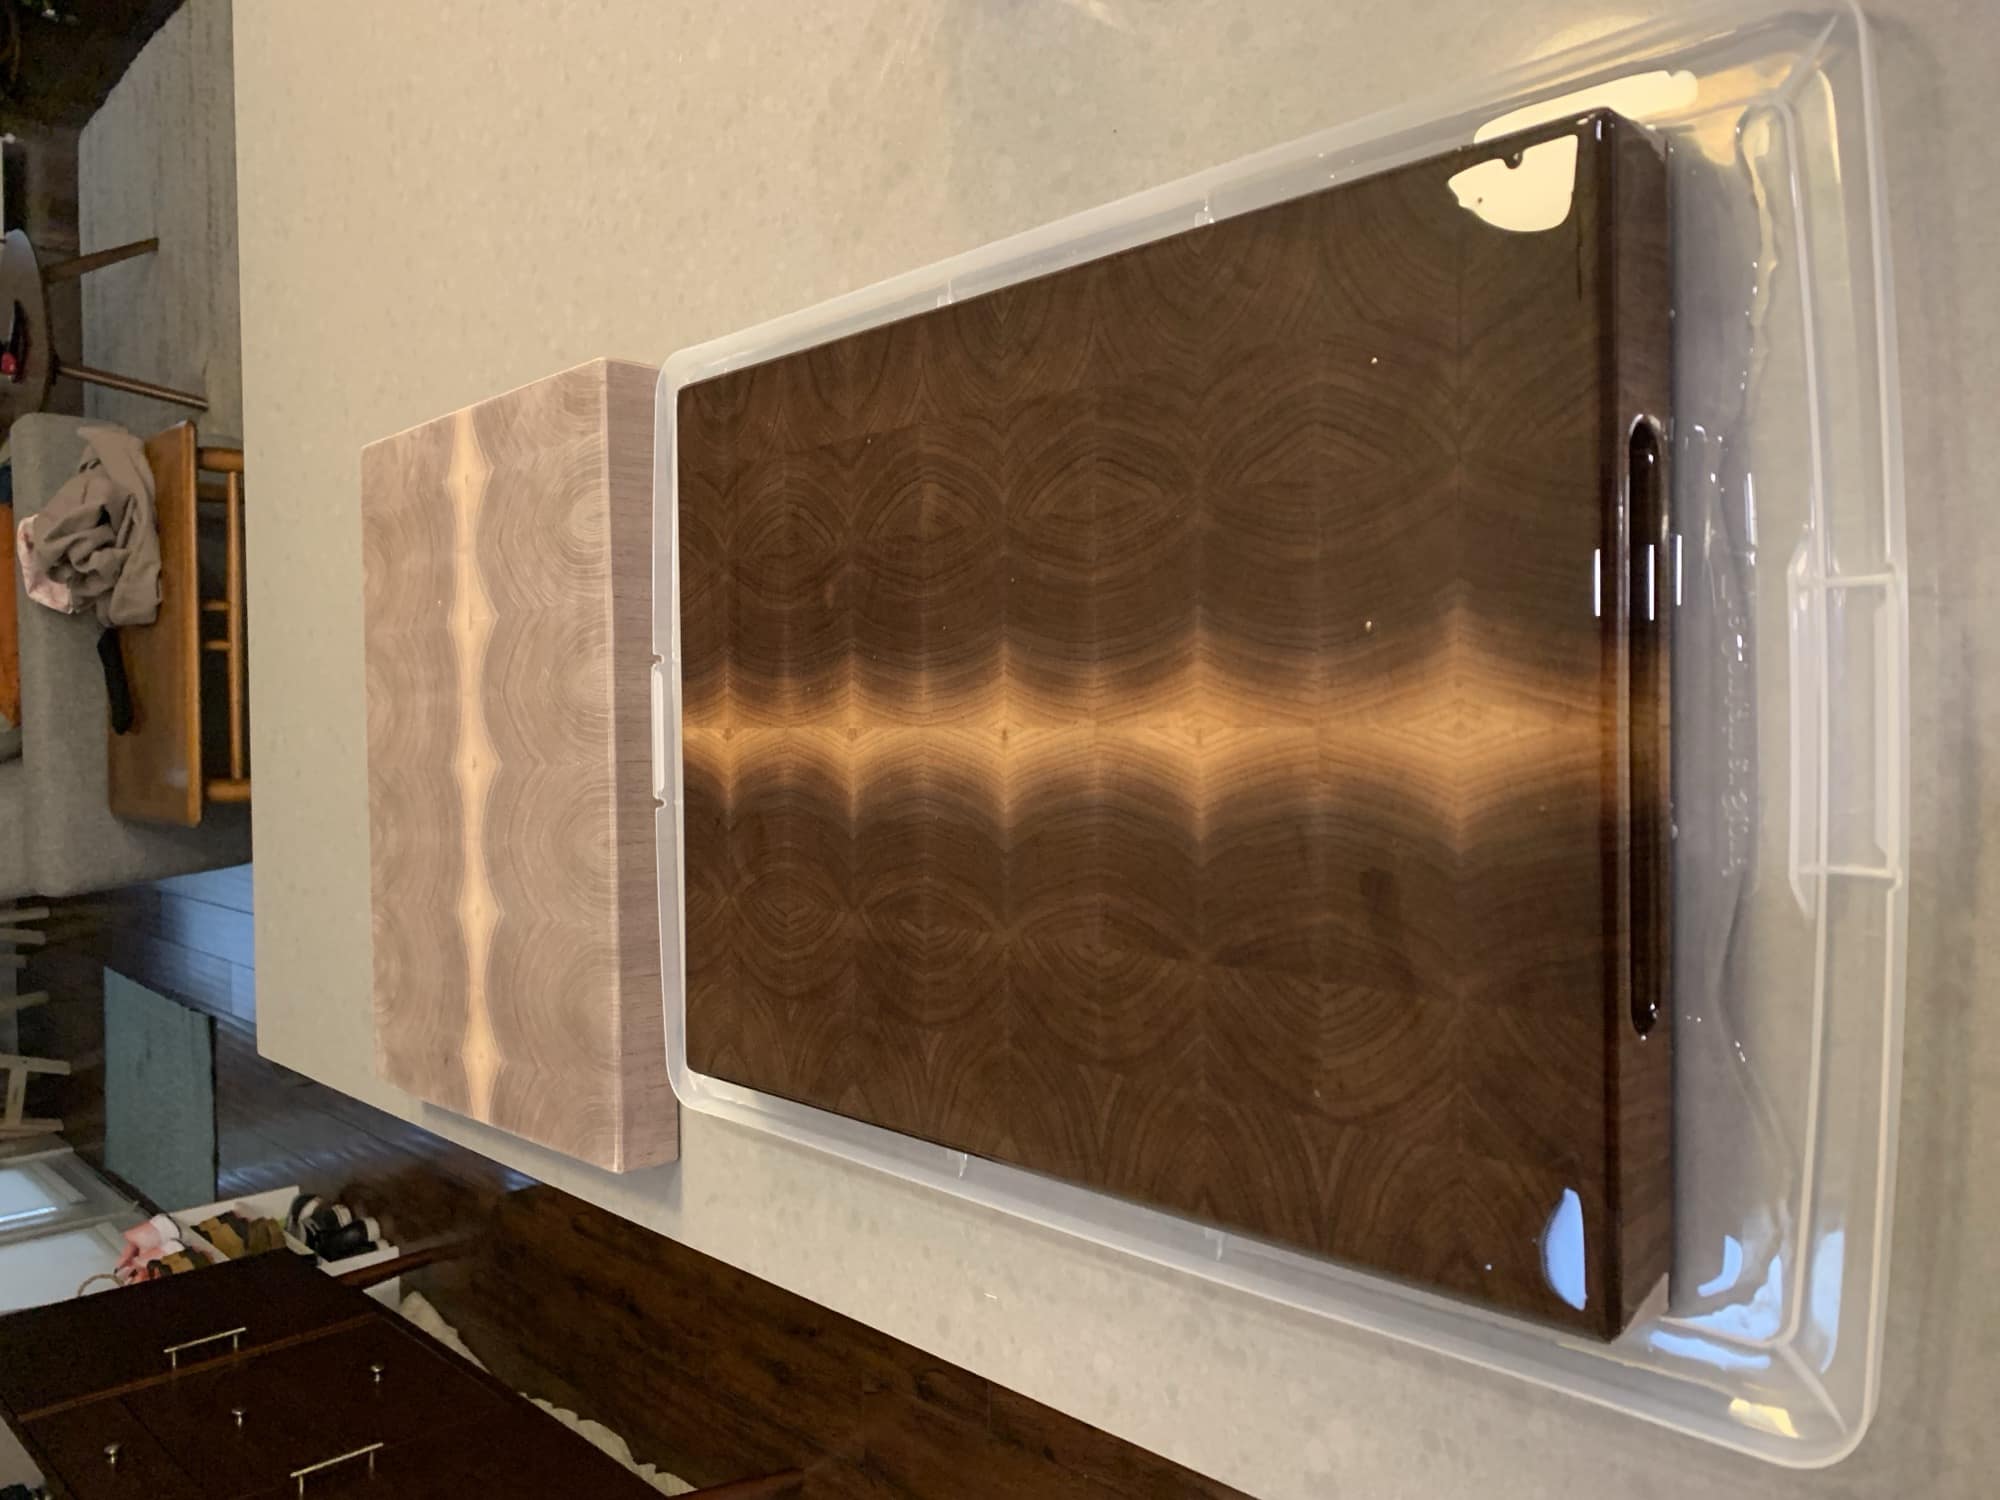
Bath time! I soaked the boards in mineral oil for about 30 minutes on each
side. I then wiped off the excess and let them dry overnight before applying
board butter (a beeswax and mineral oil mixture).
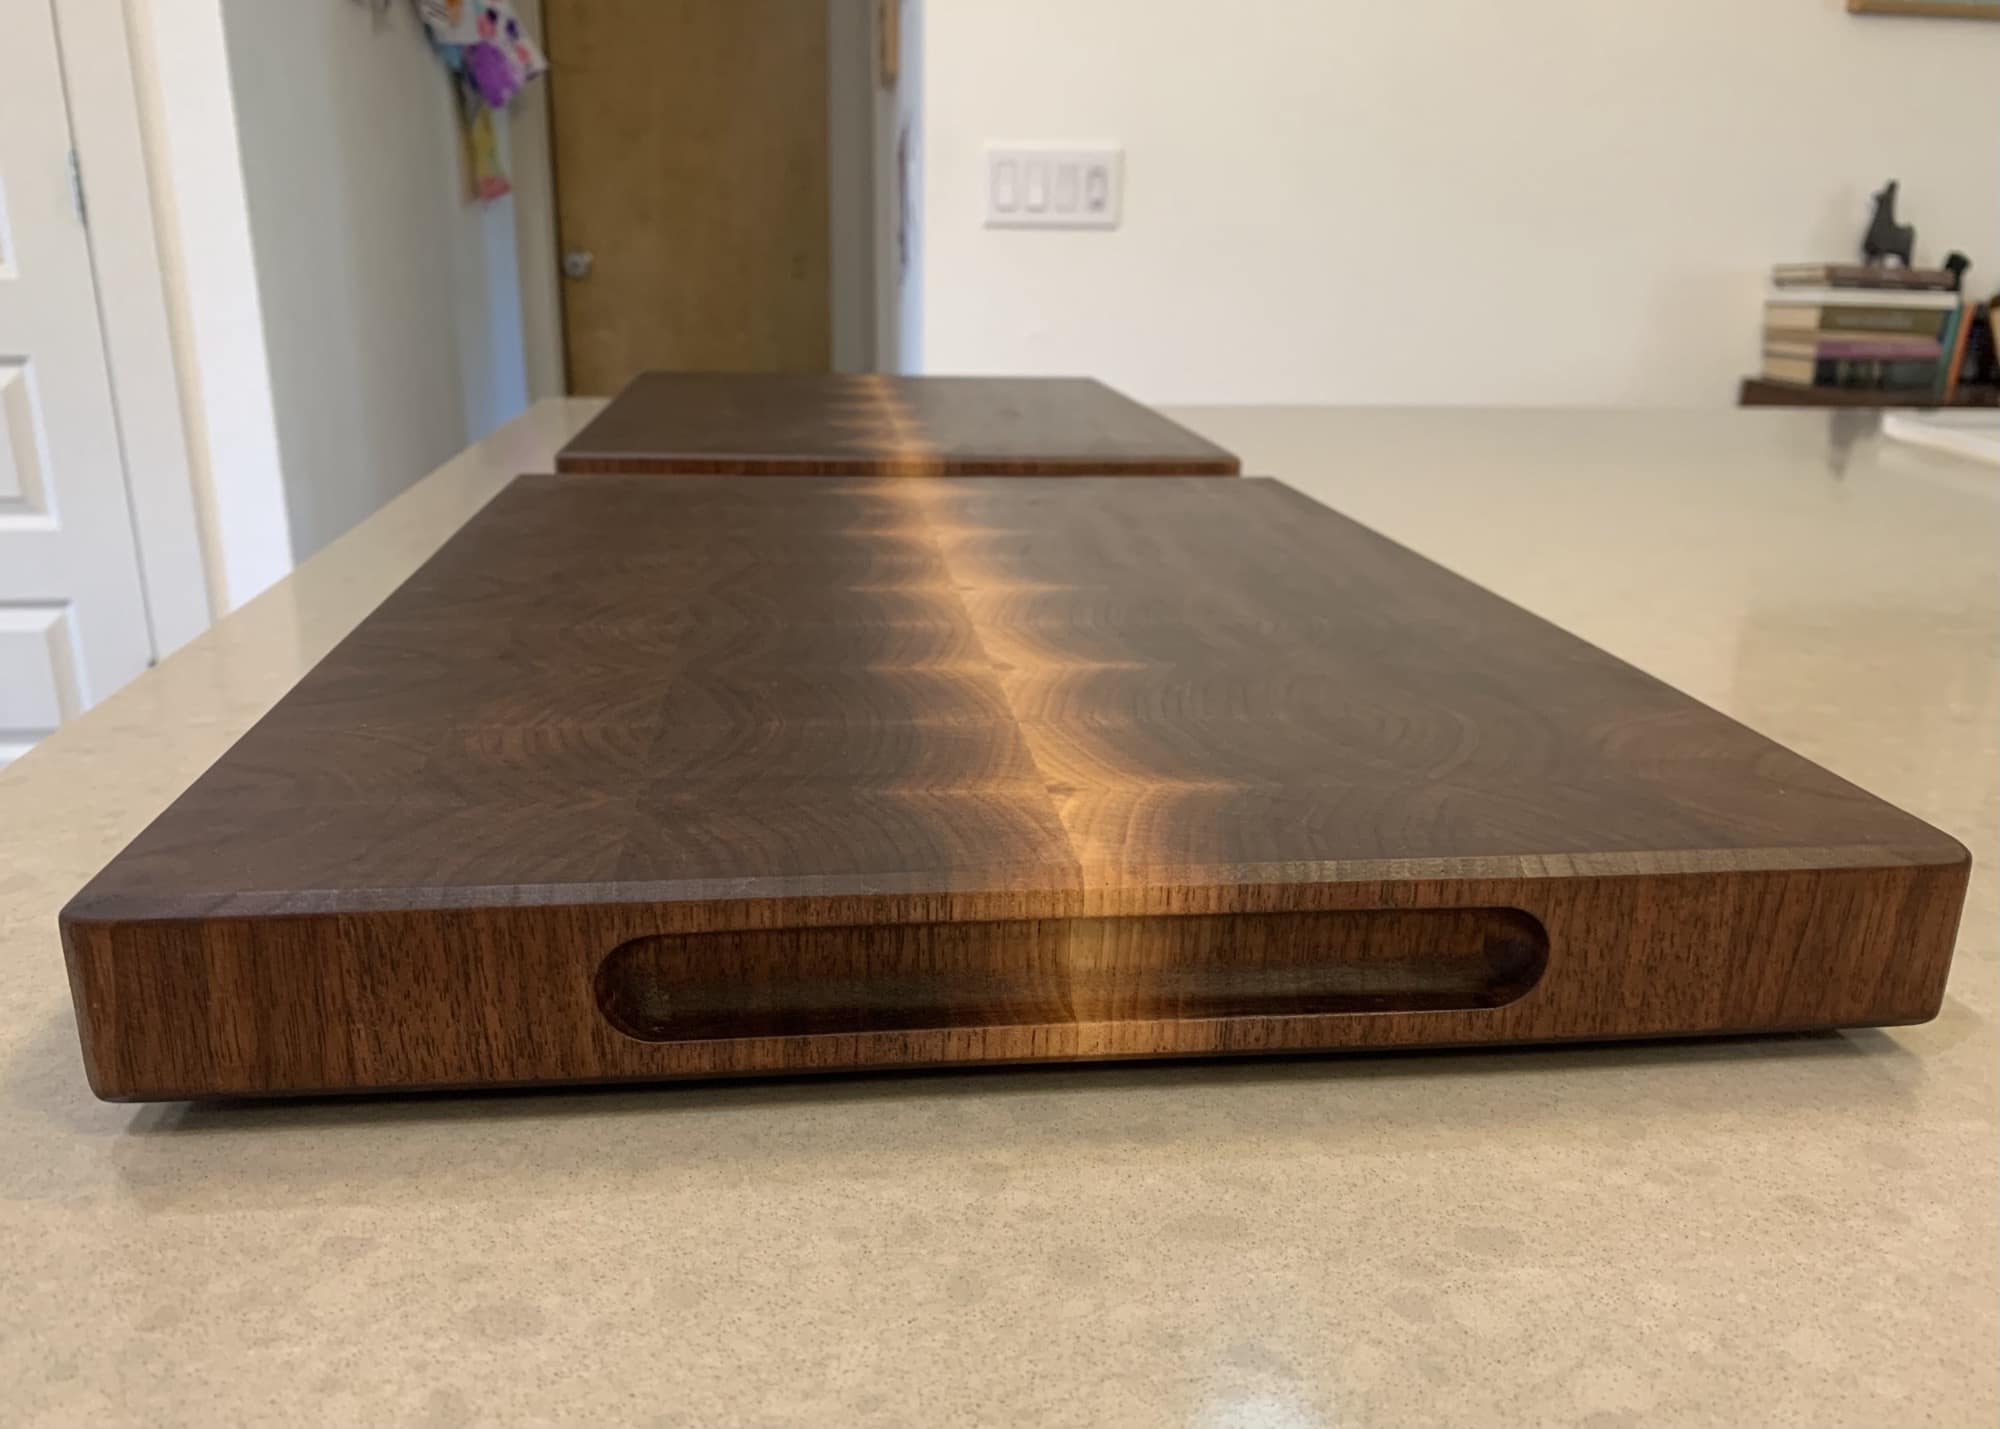
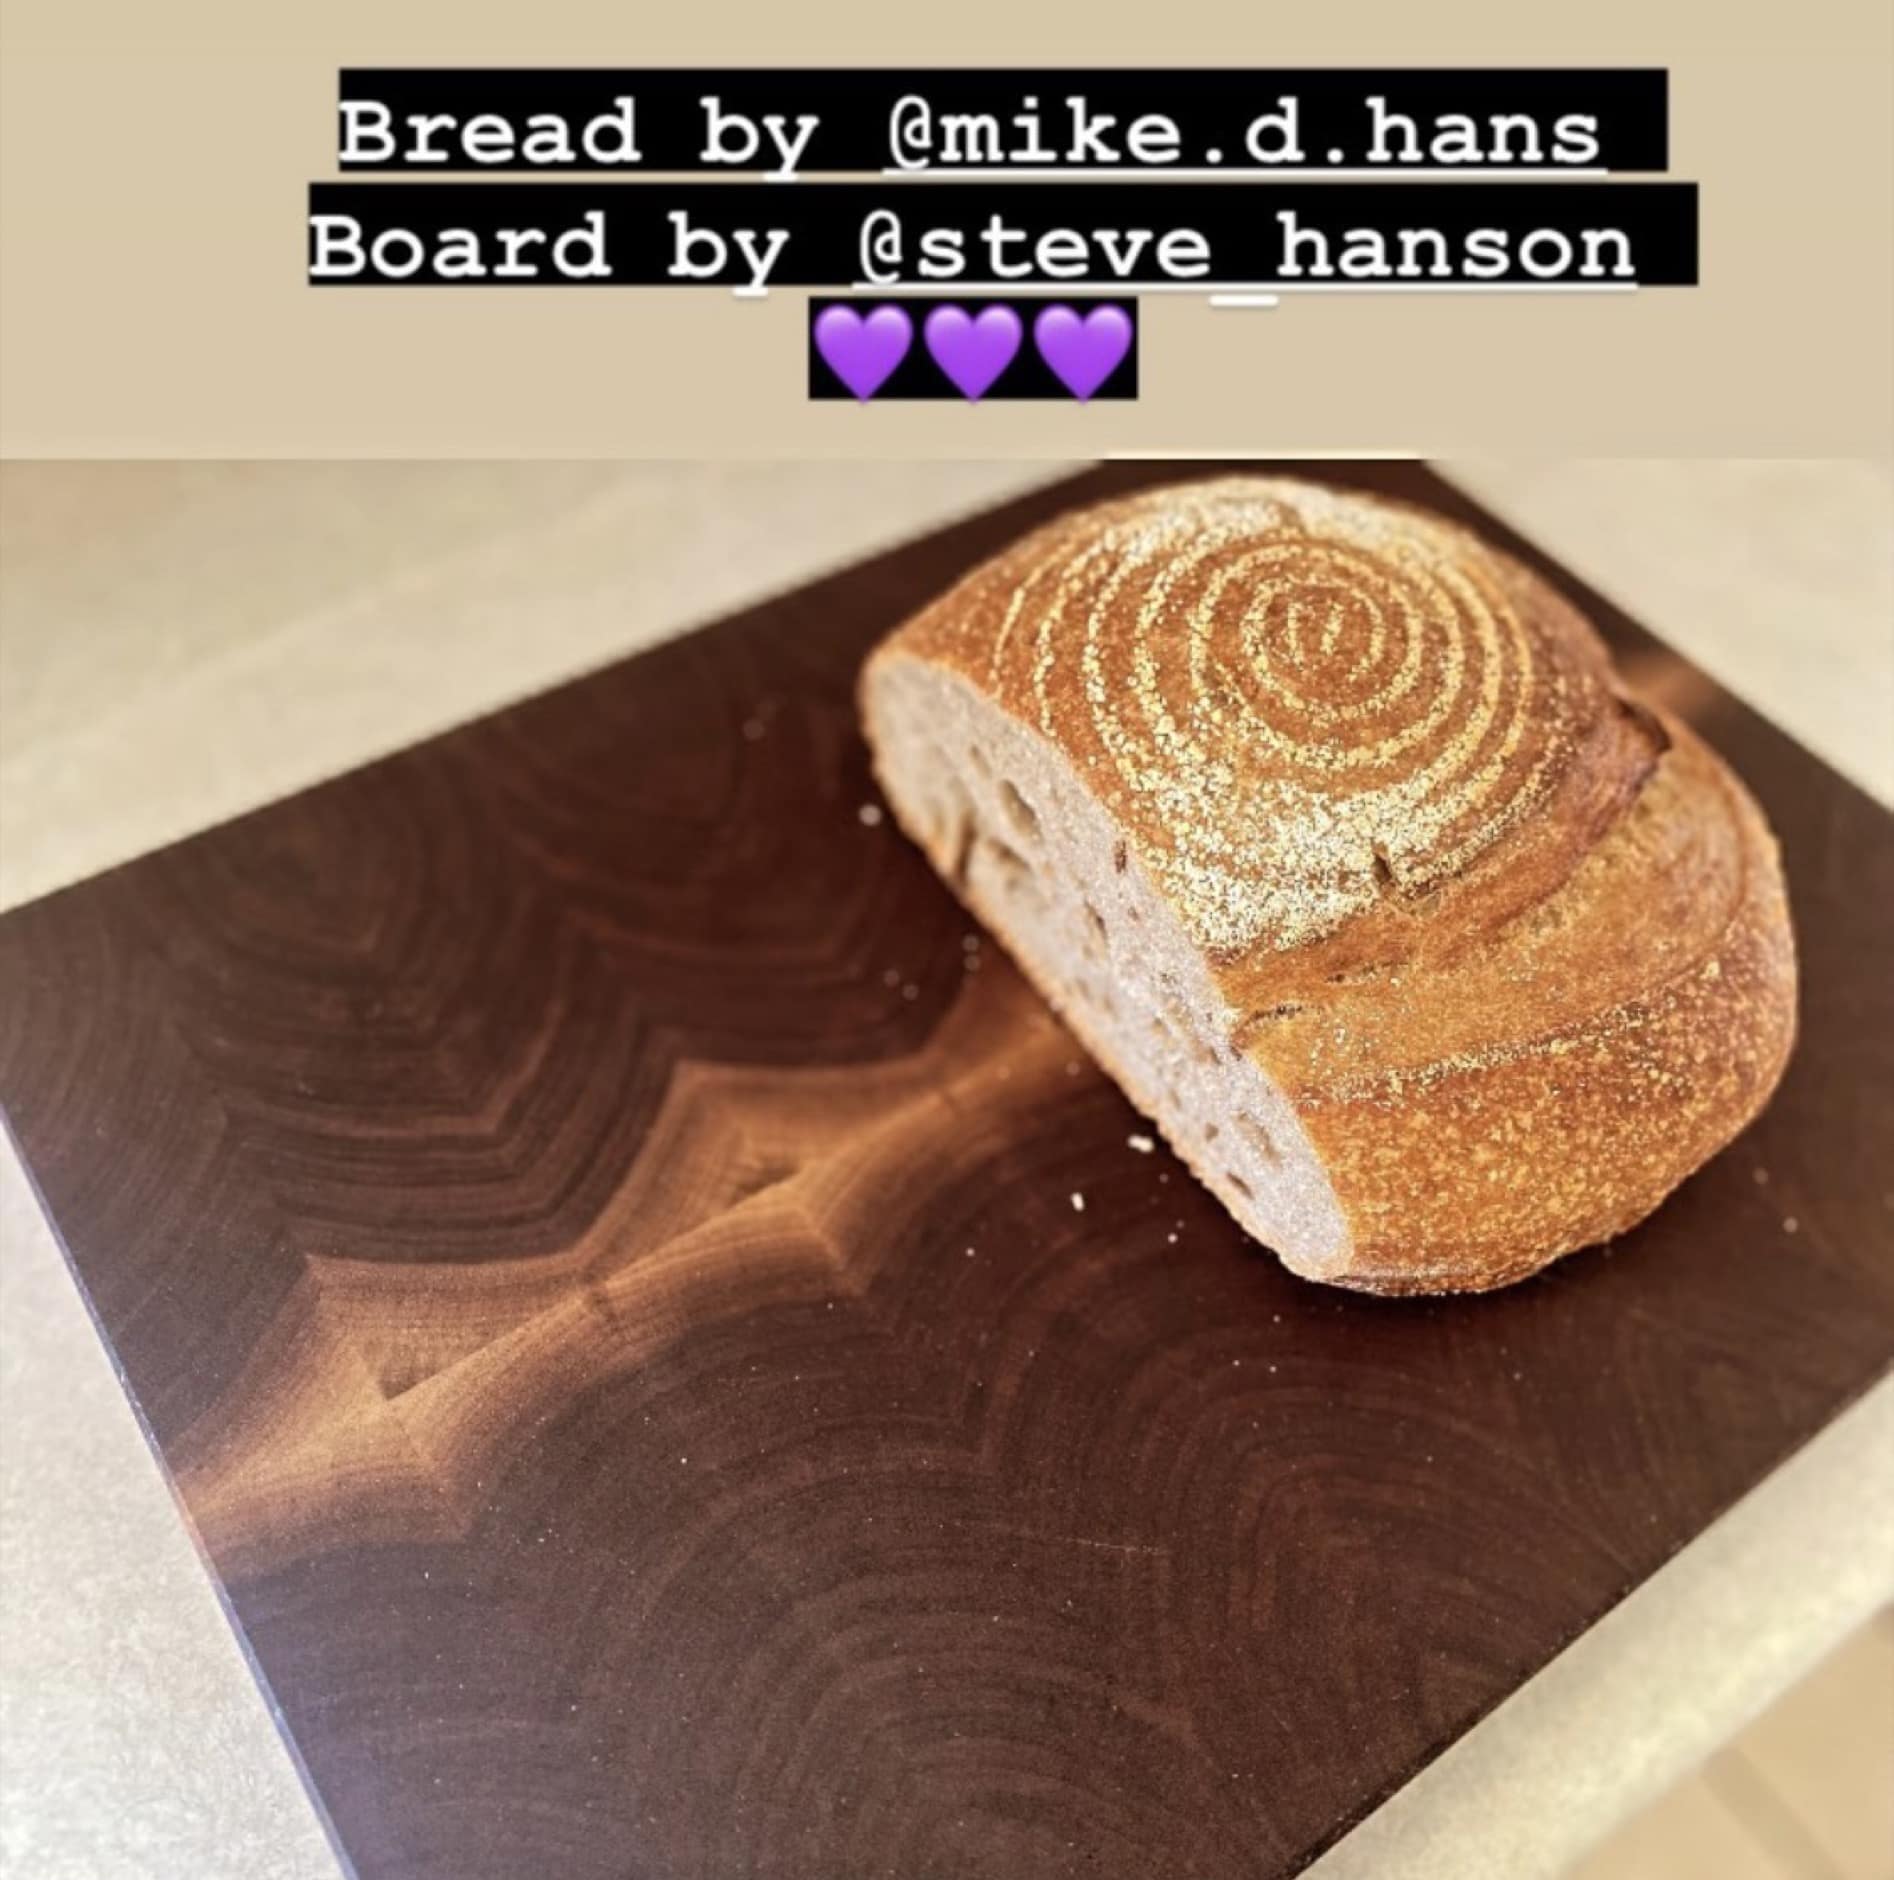
The finished boards!
Getting to give these to my mom and brother and see them use them was the best part!


 j
j